Developed from America's first operational jet fighter, the Lockheed T-33 was initially designated the TF-80C after its fighter forebear and took to the air in March 1948, beginning a phenomenally long and varied career. With over 6,500 T-33s built between 1948 and 1959, the classic trainer served at one time or other with more than 40 airforces - and according to Wikipedia was still in active service in Bolivia as of 2015.
The Kit
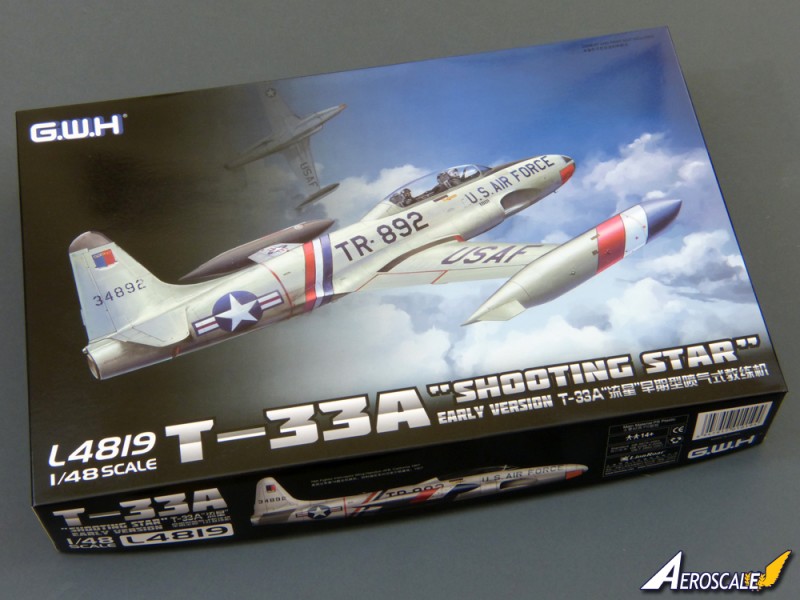
GWHs announcement of a new-tool T-33 Shooting Star understandably caused plenty of excitement among classic jet fans. Now the wait is over with the arrival of a sample kit.
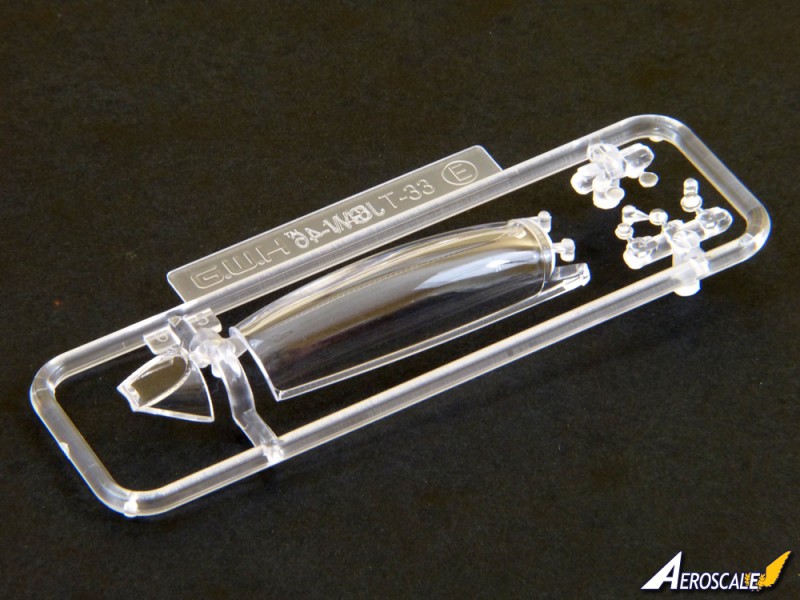
GWHs T-33 arrives in quite a large and stylish top-opening box, with the sprues and accessories bagged separately for protection. A nice touch is that the main canopy section is further protected by a piece of clear adhesive film to negate any chance of scuffing in transit.
The kit comprises:
112 x grey styrene parts
7 x clear parts
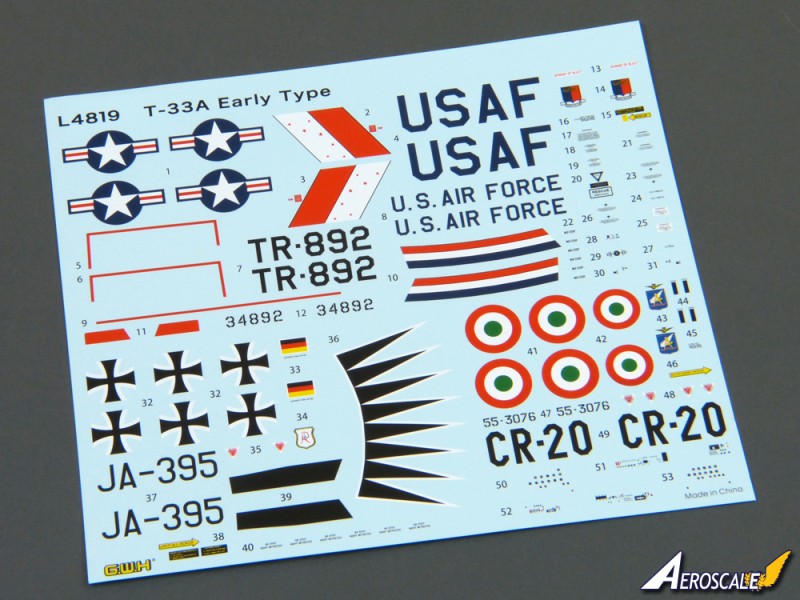
Decals for 3 x colour schemes
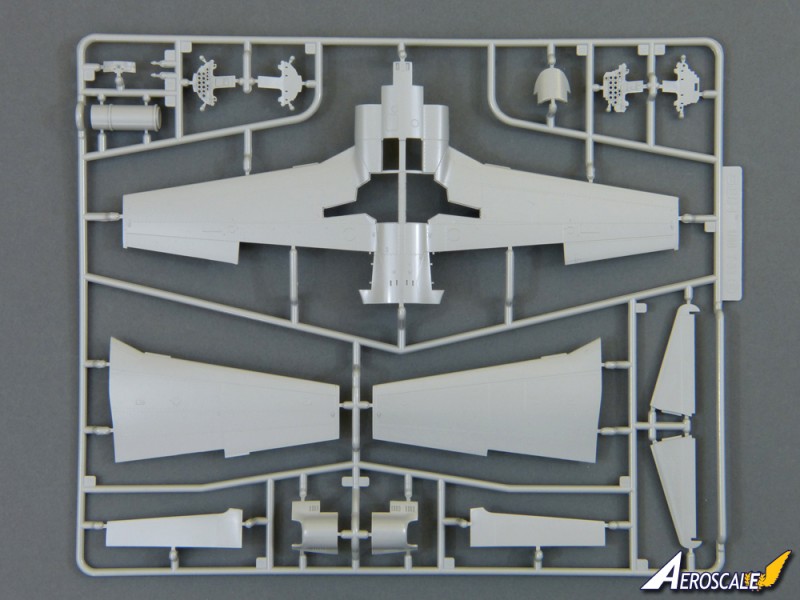
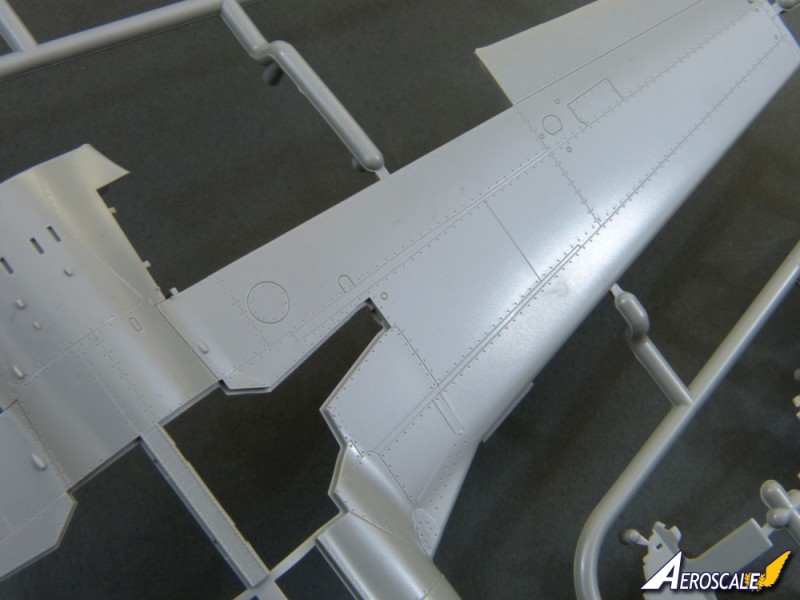
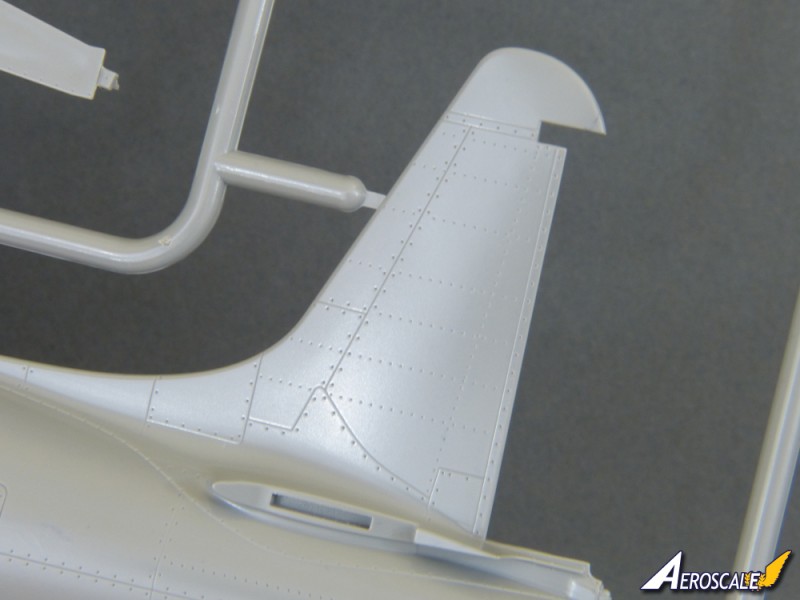
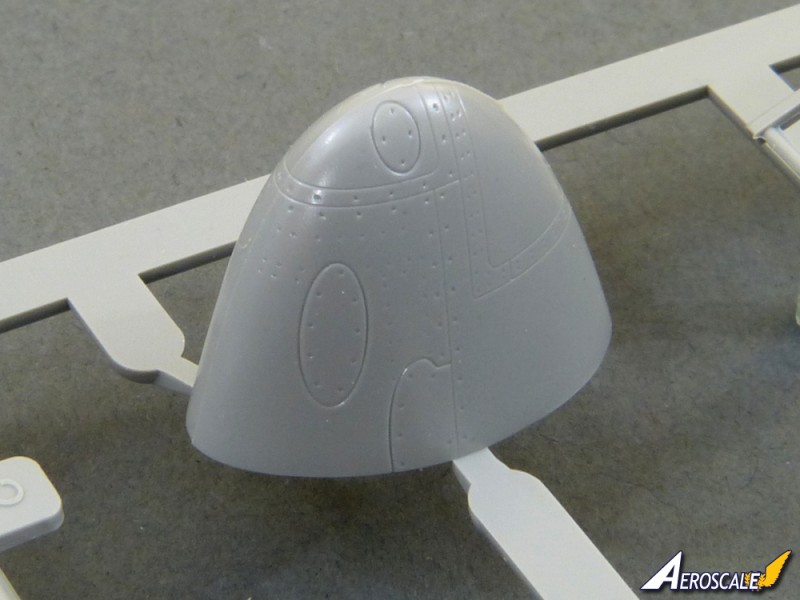
The styrene used is quite hard and the moulding is beautiful - very crisp, with no sign of flash. A first inspection revealed just a couple of areas of faint sink marks on thicker parts which should be quick to remedy. The surface finish comprises very fine engraved panel lines with delicately embossed rivets and fasteners on some parts of the airframe.
To preserve the surface detail, may of the sprue attachments are on the glueing faces, so you'll need to spend a minute or two preparing the main parts before assembly - a small price to pay for what should be a blemish-free exterior.
Test Fit
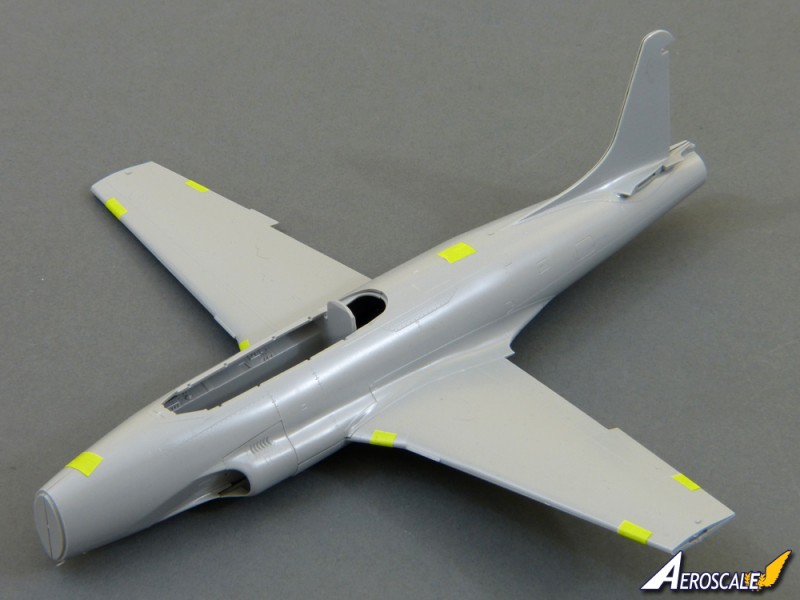
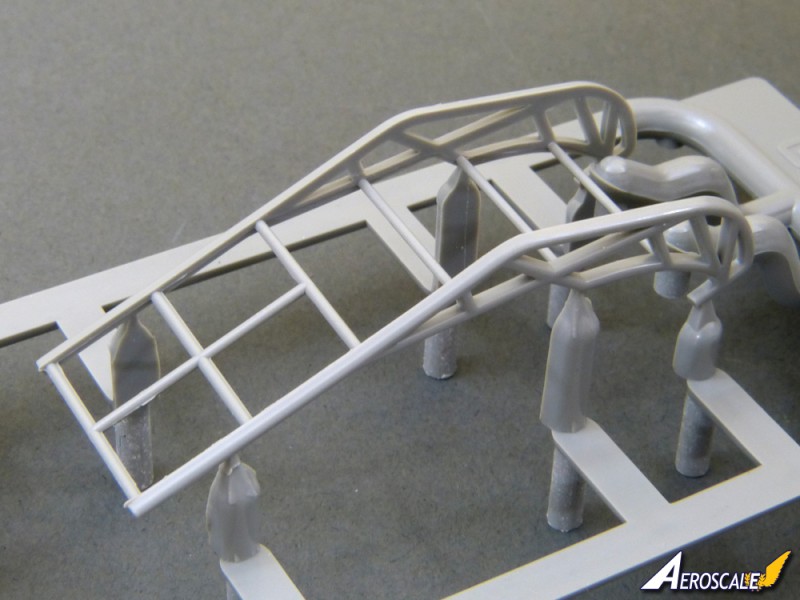
A dry-run bodes extremely well for the build ahead; the fuselage halves clip together neatly and the wings slot in place very tightly. The full-span lower wing section reaches forward past the air-brakes to form the rear edge of the nose-wheel bay and interlocks with the air intakes, which are an excellent fit, despite their complex shape. The stabilisers fit well, but have short locating tabs and are too loose to stay in place without cement (hence their absence in the shot at right).
My only concern on the basis of the test fit is that the trailing edges of the flying surfaces are heavy, whereas they look like knife-edges in reference shots, so I'll definitely thin them down a fair bit.
A Few Details
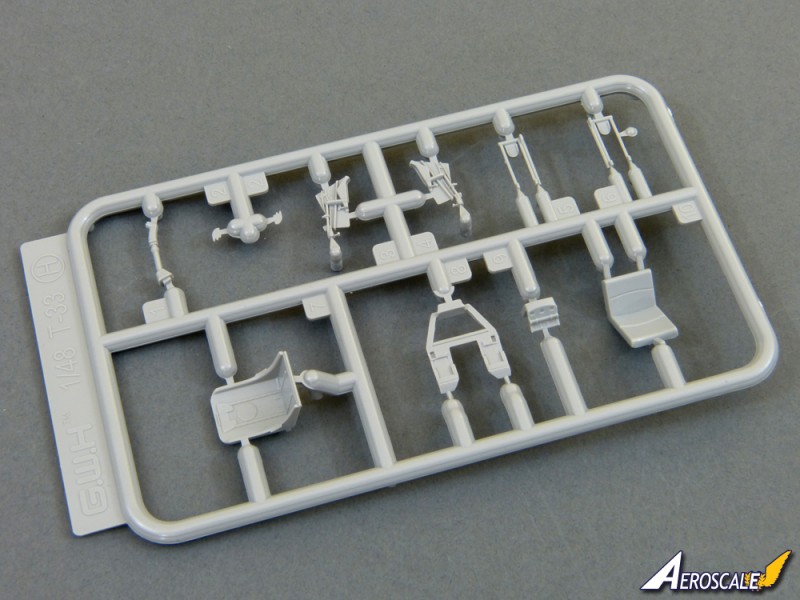
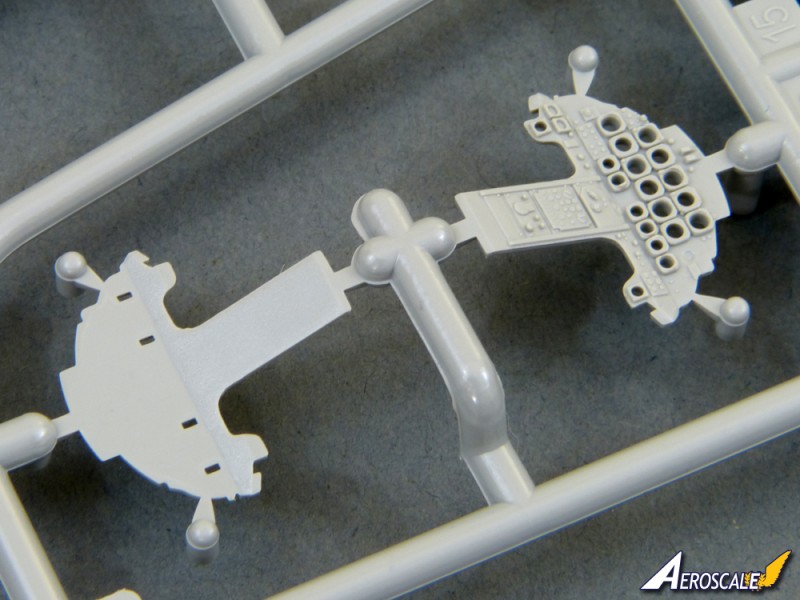
Construction begins, logically enough, with the cockpit, constructed from 28 parts. The pair of ejection seats each comprise 7 parts and should look pretty good with careful painting and a little additional dressing up. The inner faces of the seat pans are very nicely detailed, but all this will be hidden by the cushions (still, its there should you want to do a servicing scene), and the backs and side frames are crisply moulded. All thats missing is a harness, as GWH havent included any etched parts with the T-33.
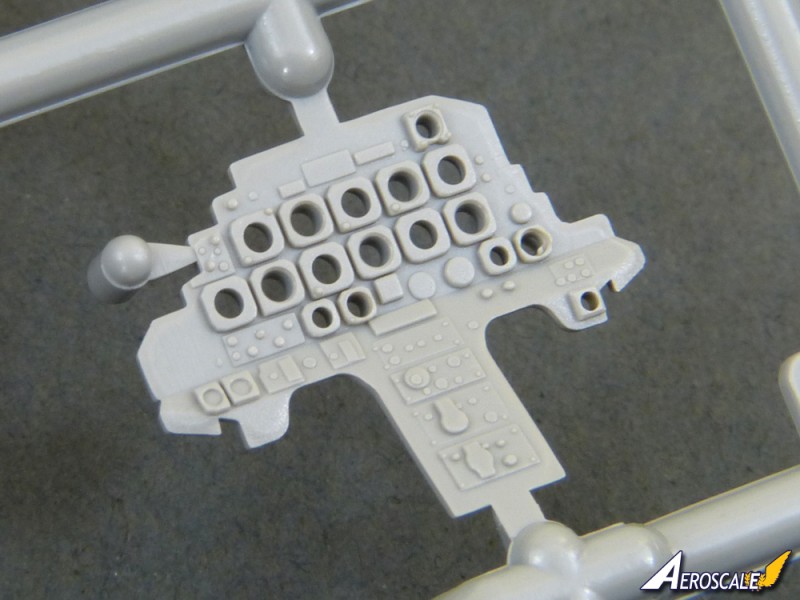
The instrument panels are quite ingenious, and are a route other manufacturers might also follow successfully. Basically, the panel front fascias have opened up bezels to reveal decal faces that are sandwiched behind. Its what Ive done myself, by drilling out the bezels of kit panels, and the results can look very convincing - combining the raised detail of a moulded panel with the recessed instruments of an etched film sandwich-type. Ill use a fine file to open up the bezels a tad more, finishing the job with a drop of varnish.
Decals are also provided for the side consoles, but these may struggle to sit down over the moulded details, so Ill prefer to paint them.
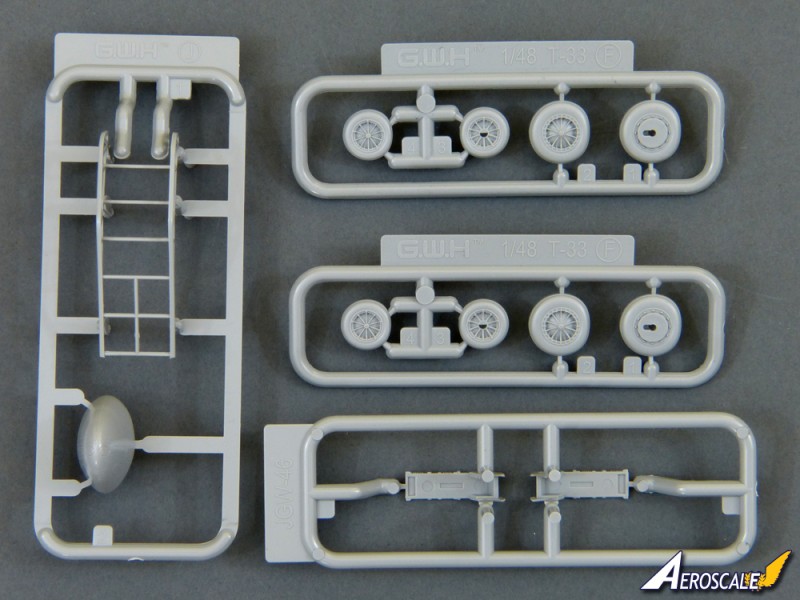
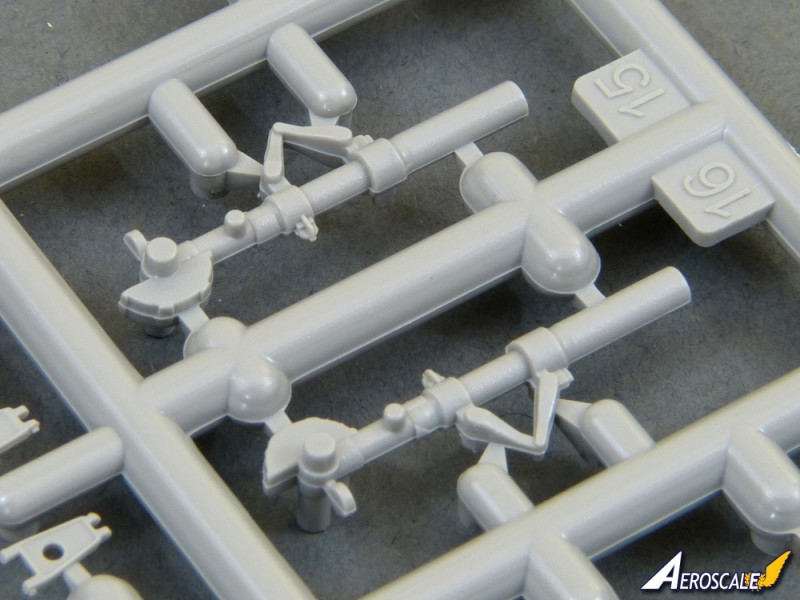
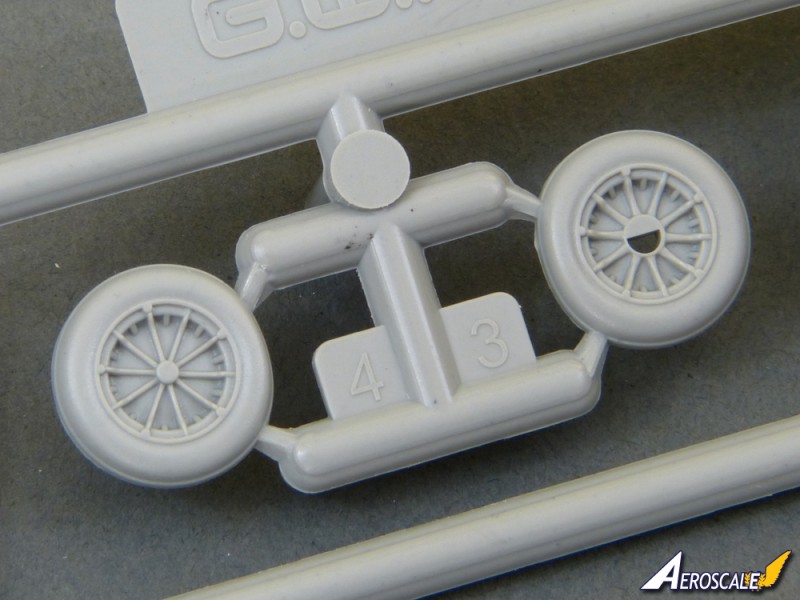
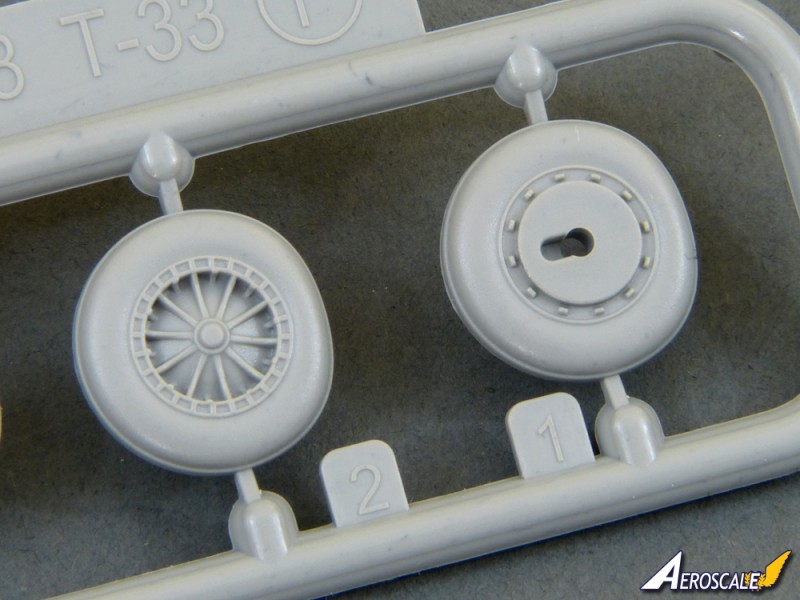
Attention then turns to the nosegear, which looks both sturdy and nicely detailed. The landing lamps have separate clear lenses and the wheel is moulded with a lightly weighted tyre.
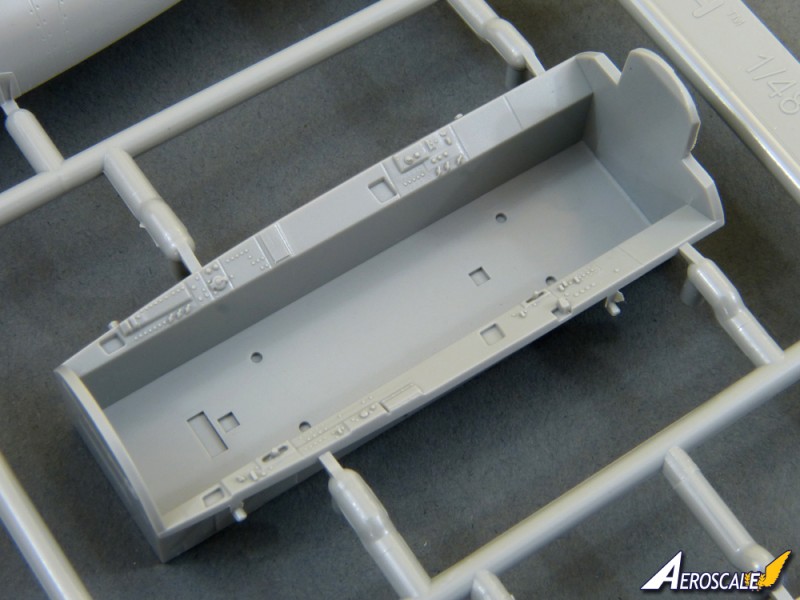
Talking of weight, GWH have tackled the problem of the kit being a tailsitter in an unusual way with a solid-moulded styrene weight that sits on top of the nosewheel bay, ahead of the cockpit tub. To be honest, it doesnt actually feel all that heavy, but presumably the designers have done their sums right. If not, theres plenty of room to add more ballast.
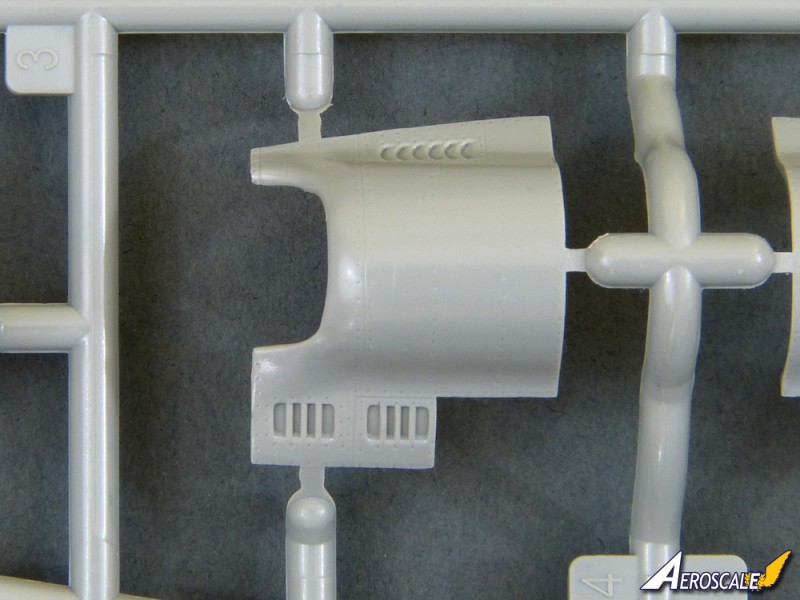
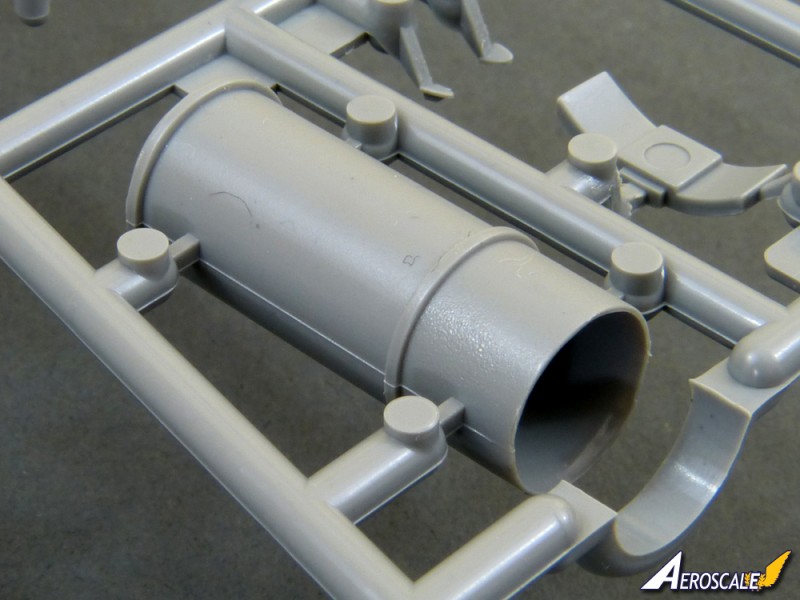
Clever intake inserts prevent a see-through look from the front, and theres a two-part slide-moulded tailpipe at the rear. So, anyone hoping for a detailed J33 engine will be disappointed, but the plus side is theres no awkward mid-fuselage seam to disguise, making for a very straightforward build.
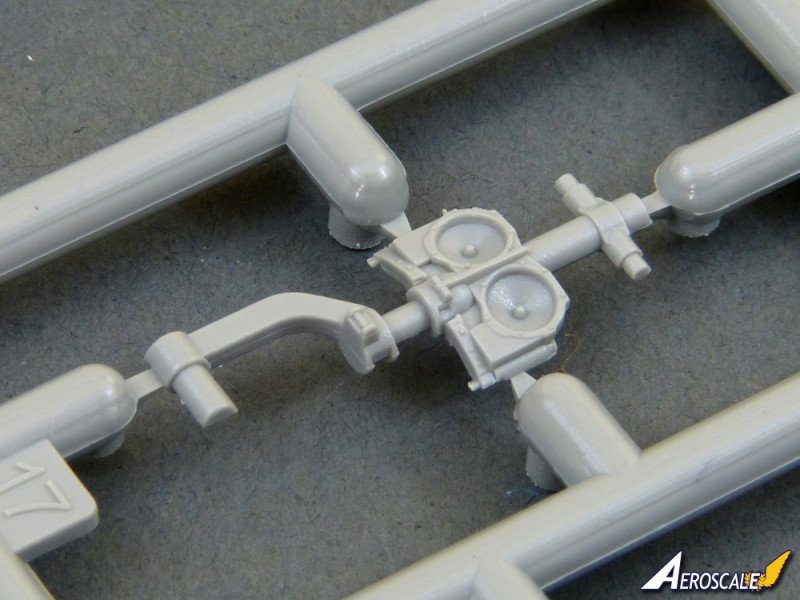
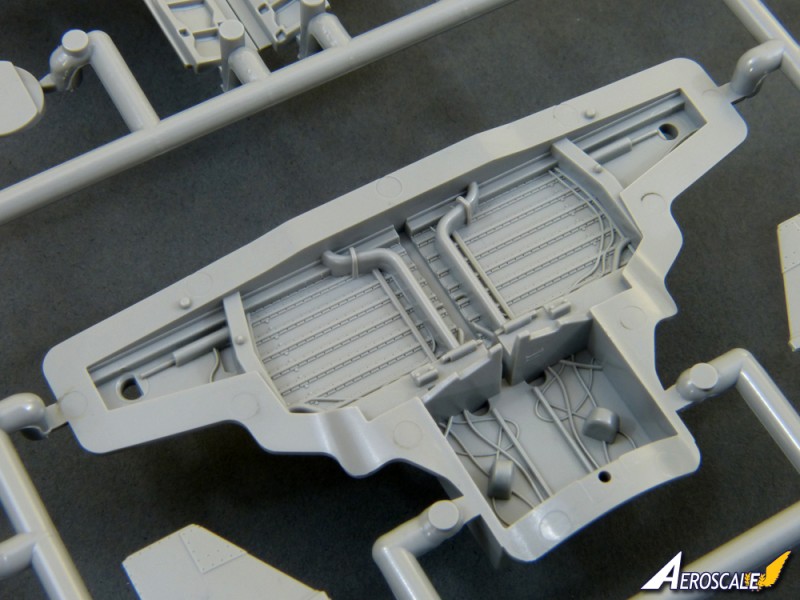
The mainwheel wells and airbrakes are beautifully detailed, with crisply moulded-on pipework and wiring. No doubt resin upgrades will come along, but the kit parts are about as good as youre ever likely to see moulded in styrene - and, to honest, should satisfy all but the most devoted superdetailer as the basis for a great looking model.
The wheel doors and airbrakes are moulded closed as one piece, so youll need to slice them apart carefully if you want the landing gear lowered.
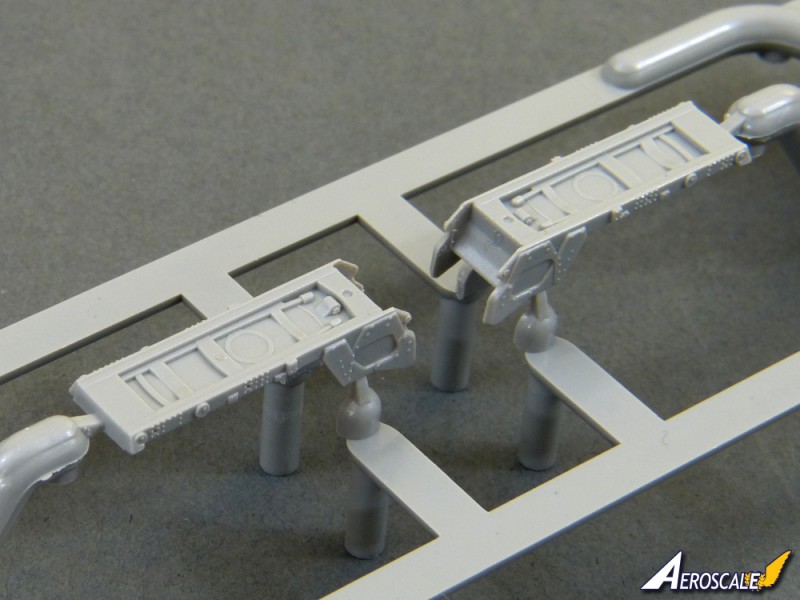
The landing flaps are shown lowered and equipped with operating arms to attach in the bays. The flaps feature very nicely moulded inner surfaces, and a real plus point is that the designers have managed to keep them free of any ejector-pin marks. Full credit there.
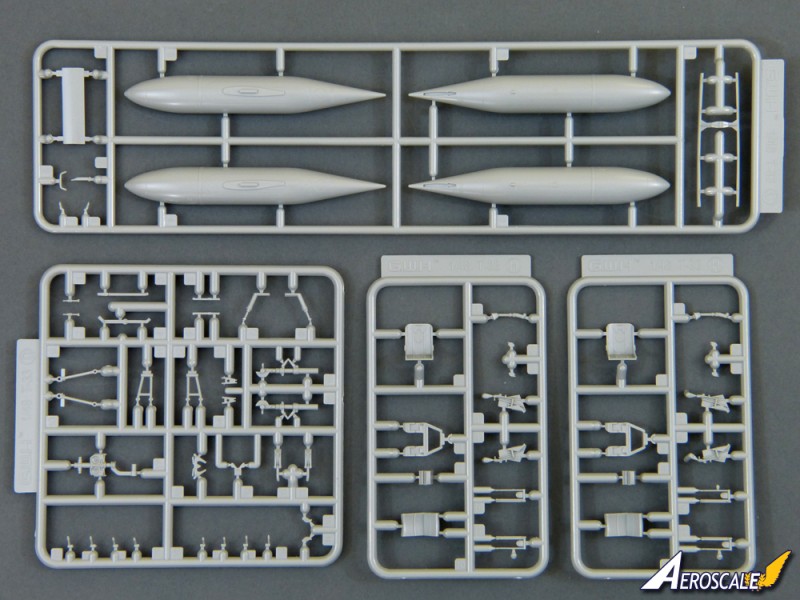
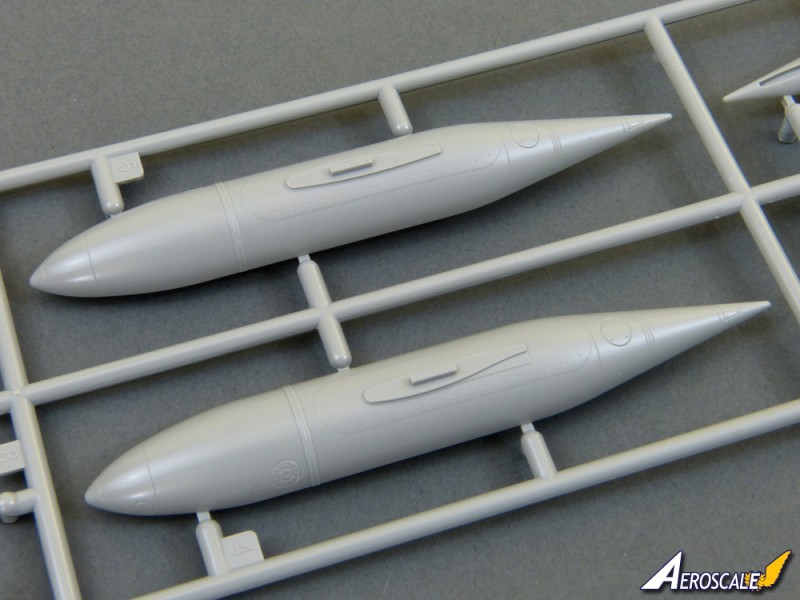
Although the T-33 had hardpoints for underwing stores, all the kit offers is a pair of wingtip tanks.
The canopy is crystal clear and attaches to an inner frame for the opening ram. A final touch is the inclusion of a neatly moulded boarding ladder, so its a shame GWH havent also included a couple of crew figures to complete the scene.
Instructions & Decals
The assembly and painting guide is spread across 3 sheets, with the bulk of the instruction on one large (slightly cumbersome) fold-out document. Construction looks very straightforward and is divided into 9 easy to follow stages. Colour matches are given for Gunze Sangyo and MIG paints, along with their generic names.
Decals are provided for 3 interesting subjects:
1. T-33A s/n 53-4892, 78th Fighter Interceptor Wing, Hamilton AB, California, 1957
2. T-33A s/n 51-17481, JA-395, 2 Staffel, JG 71 "Richthofen", Alhorn, West Germany, 1961
3. T-33A s/n MM55-3076, CR-20, Reparto Radiomisure Aeronautica Militare Italiano, Pratica di Mari, Rome, 1964
The schemes chosen offer plenty of variety and should look great. The Italian aircaft will need some careful masking for the large areas of Orange, and GWH don't give templates, so you'll need to go by eye to produce symettrical masks. The result should look amazing, though.
The decals themselves look pretty good quality, with sharp registration. The insignia red for the US markings looks a bit bright to me, but more of a concern is that the decals are finished with a dead flat varnish. Quite how well the carrier film will blend in over the extensive n/m areas remains to be seen.
Conclusion
GWH's looks set to be a very enjoyable build. It's simpler and more straightforward than their previous kits I've seen, but still packs in some excellent detail where it counts - GWH's moulding technology placing them firmly amongst the best in the mainstream business. Highly recommended to all classic jet enthusiasts.
Please remember, when contacting retailers or manufacturers, to mention that you saw their products highlighted here - on AEROSCALE.
SUMMARY
Highs: Beautifully moulded, with great crisp detail. Well thought out design promises a straightforward build.Lows: Thick trailing edges. I'm a bit wary of the matt decals for n/m finish models. We'll have to see how they work in practice.Verdict: GWH's new Shooting Star looks a great kit that will be a really enjoyable build. You can look forward to masses of alternative markings coming on the market to reflect the aircraft's long and varied service history.
Our Thanks to Great Wall Hobby! This item was provided by them for the purpose of having it reviewed on this KitMaker Network site. If you would like your kit, book, or product reviewed, please contact us.
About Rowan Baylis (Merlin) FROM: NO REGIONAL SELECTED, UNITED KINGDOM
I've been modelling for about 40 years, on and off. While I'm happy to build anything, my interests lie primarily in 1/48 scale aircraft. I mostly concentrate on WW2 subjects, although I'm also interested in WW1, Golden Age aviation and the early Jet Age - and have even been known to build the occas...
Thanks guys
I'll go see how it's dried in a tick.
Touch wood, it'll be set to move on and should soon start looking much more aeroplane-shaped...
All the best
Rowan
Hi again
A quick update. The fuselage is closed up and looking promising:
The seams are really good, but you're almost bound to get one to clean up at the front of the nosewheel bay. So, rather than mess about with filling and sanding, I simply faced it with thin styrene to smooth things out:
All the best
Rowan
Hi again
I got back to the T-33 today after far too long!
One shot that somehow got missed along the way was the basic colour for the wheelwells - in this case, Alclad's new Mil Spec Interior Green:
I've seen other colours in reference pics too, from what appears to be bare metal (or maybe grey?) through to Zinc Chromate Yellow - but Interior Green seemed a reasonable choice.
Anyway, that was weeks ago. I weathered it and added a few touches of silver and grey today prior to installing it:
Touch wood, I'll get the wings on this evening and start ploughing ahead again.
All the best
Rowan
Hi again
Well, I reached my target for the day and the wings are on.
The only hiccup is that I managed to put some of the pieces I was working on a couple of weeks ago "in a safe place"... in other words, I haven't a clue where they've got to!
So - first job tomorrow... a tidy-up / hunt in the workroom to get organised before I manage to mislay anything else! With (at least) four active builds on the go and in danger of getting enough momentum to see them through to finished, it'd be too cruel to miss out on the chance of completing my first models in far too long through sheer untidiness.
More soon.
All the best
Rowan
Hi again
Phew! All parts accounted for! But it has convinced me that I really do need to do a total blitz on my workroom. That can be something for this winter, because I'm not going disrupt current projects, but I can see how I could make a much better organised space with more room to actually do things!
Anyway, onwards and downwards...
The jet intakes are a nice neat fit - this is just clipped in with no cement at the moment:
I'll do a bit of quick tidying on the small seams, and then move on to the stabilisers - which I think may need a little more work, because they were quite loose when I test-fitted them for the review.
More later, d.v.
All the best
Rowan
Hi again
I got the kit stood on its wheels to check it's not going to be a tail-sitter:
It all seems good. You could put a little weight in the nose if you want to be double sure, but I don't think it'll need it. The wing tanks will add a little more weight ahead of the COG, so I won't bother.
All the best
Rowan
Hi Andy and Guido
Many thanks - the target is definitely some paint before I go back to work next week. All being well, it'll be a full-on Alclad-fest.
All the best
Rowan
PS - Maybe not much progress tomorrow... there's an ugly rumour that we might actually have our first proper (hopefully not only!) taste of summer! If so, I'll get out for a country walk to take in a couple of "watering holes".


Comments