The Hansa-Brandenburg W.12 was a two-seat fighter floatplane that entered sevice with the Kaiserliche Marine during 1917. Known as the "Kamel", the aircraft was armed with either one or (occasionally) two forward-firing IMG.08 machine guns and a flexibly mounted LMG 14 Parabellum. The gunner enjoyed an uninterrupted field of fire to the rear and above, thanks to the rudder projecting beneath the tail.
The W.12 served with some success until the end of WWI, despite the arrival of the monoplane W.29 intended to replace it. Indeed, the type was constructed post-war under licence in The Netherlands as the Van Berkel WA, and remained in service in this form until the early 1930s.
The Kit
Wingnut Wings W.12 arrives in a deep and sturdy conventional box thats adorned with a dramatic painting of the aircraft engaged in a David vs Goliath battle with a Felixstowe F.2. The package is surprisingly heavy for what should be quite a compact finished model, and the reason is apparent as soon as you open the box - it contains 10 sprues, plus accessories.
The kit comprises:
141 x styrene parts in two tones of grey (plus 61 unused)
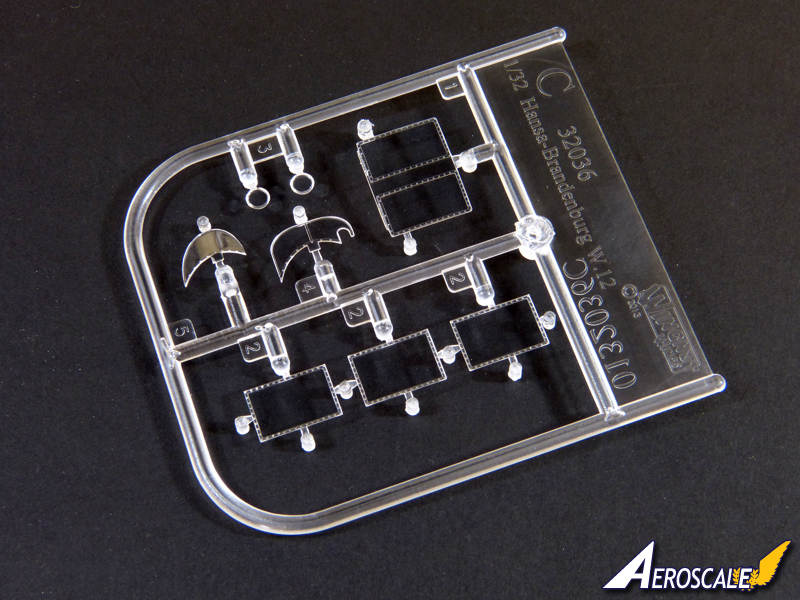
8 x clear styrene parts
11 x photo-etched parts
Decals for 5 x colour schemes
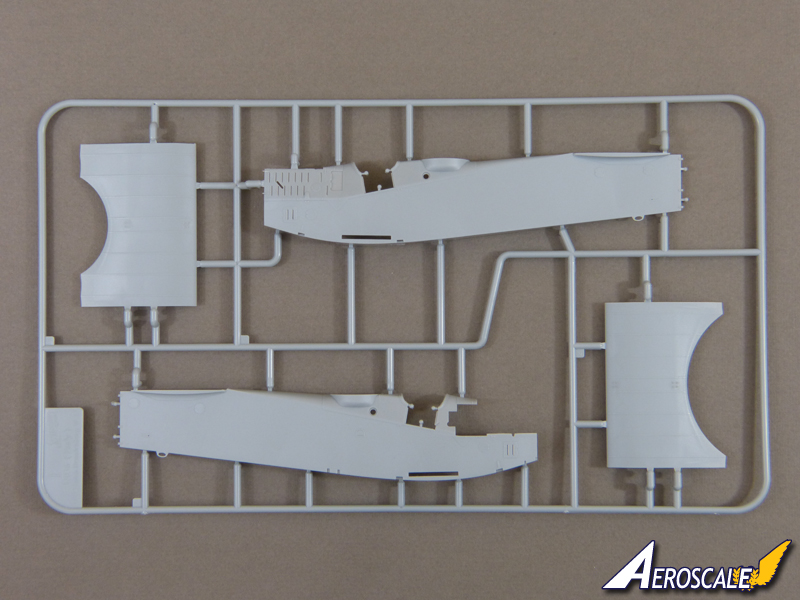
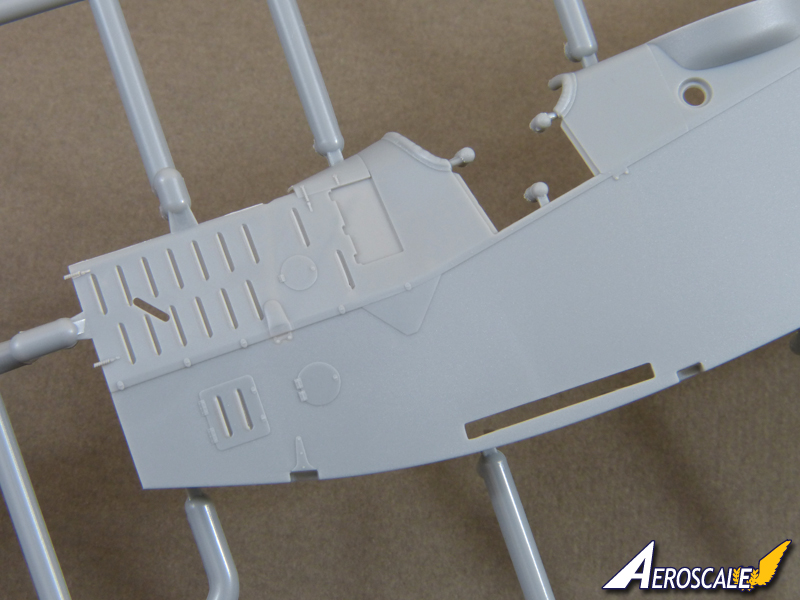
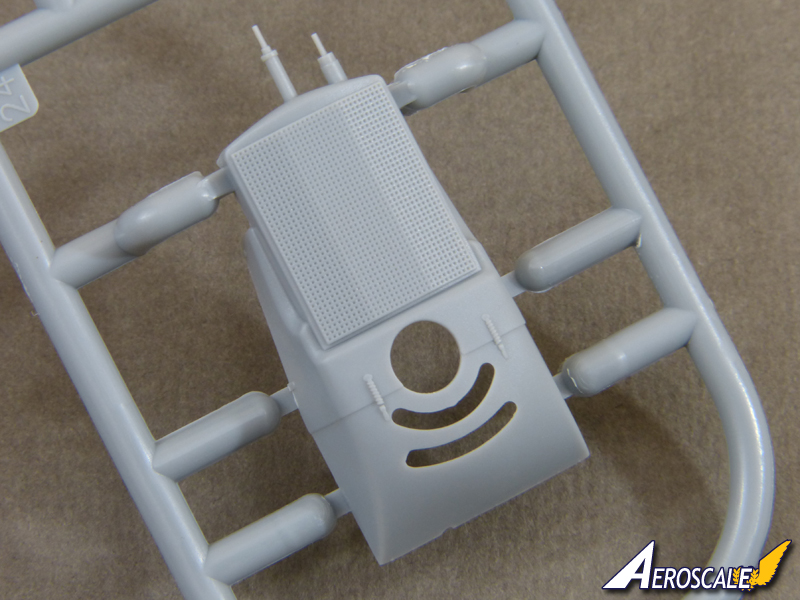
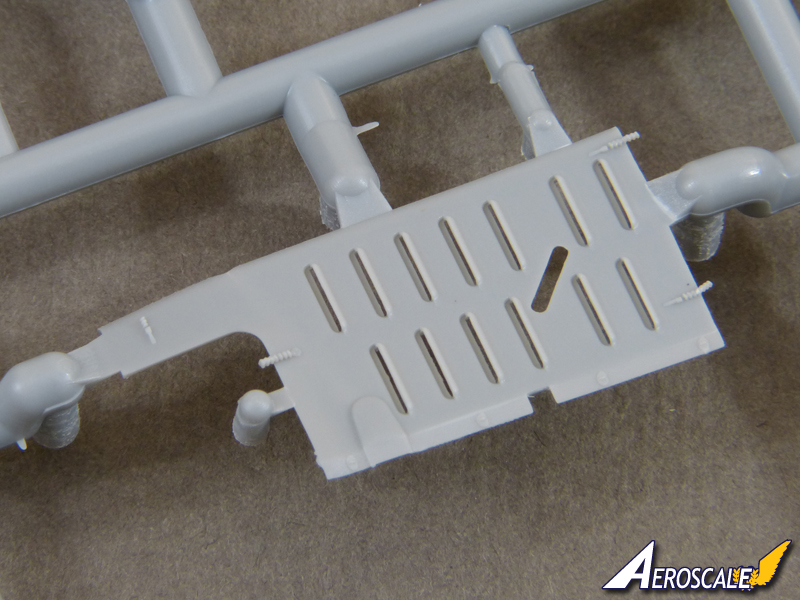
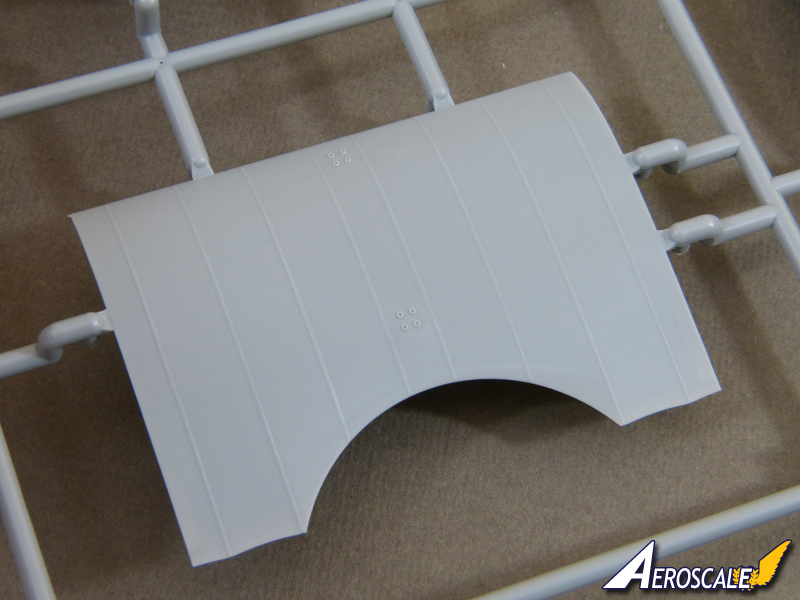
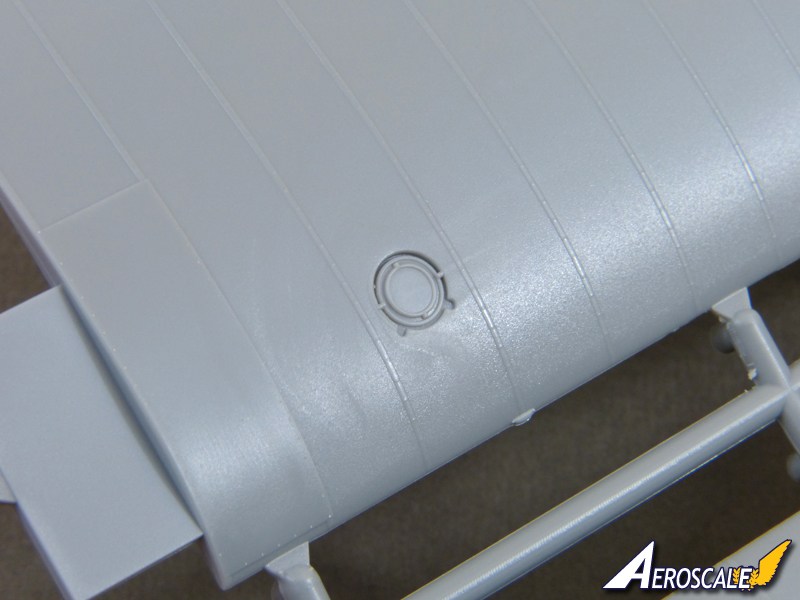
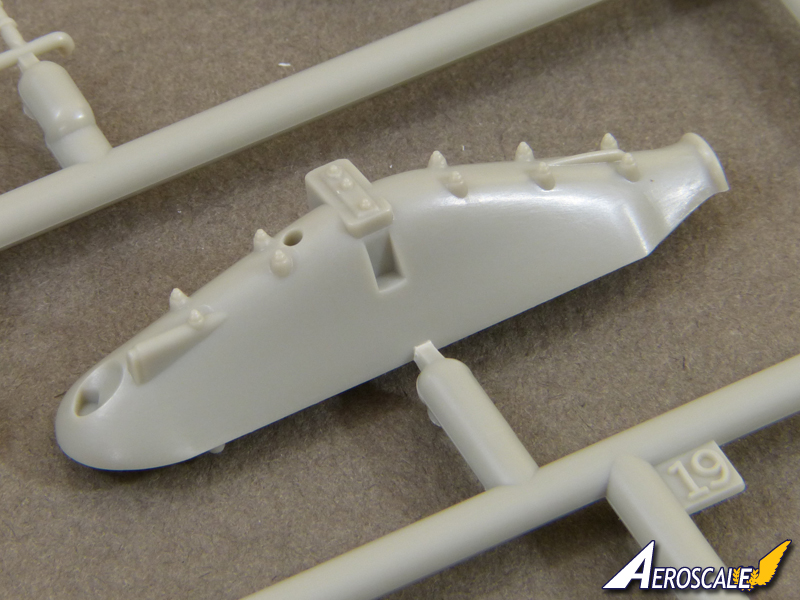
The moulding, as weve come to expect with Wingnut Wings kits, is quite superb. Theres no hint of flash on my kit, and the designers look to have done a fine job keeping ejector pin marks out of sight as far as possible. Items such as the engine covers are beautifully thin, with delicate open louvres. The overall finish is satin, with a nicely restrained taut fabric effect on the wings and tail. Panel lines are crisply engraved, while appliqué panels are subtly depicted.
Test Fit
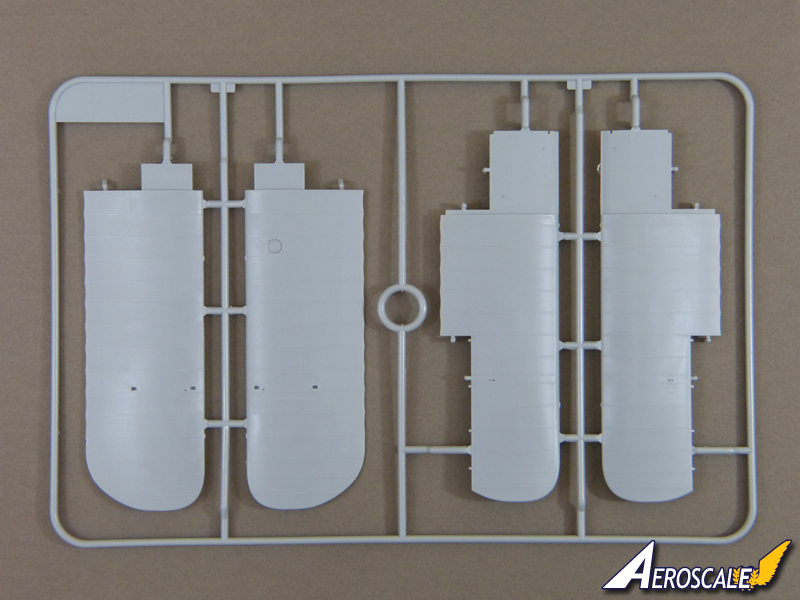
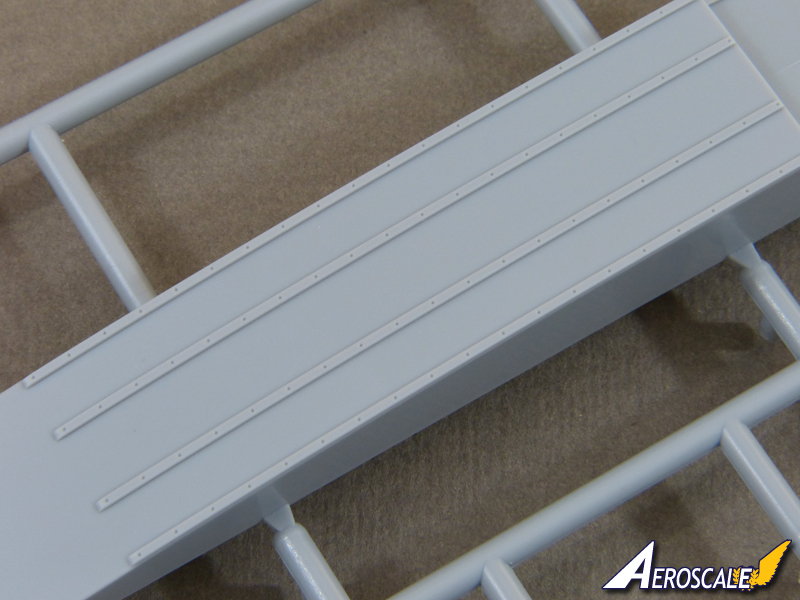
The fuselage halves snap together precisely, while the lower wing panels slot in with sturdy locating tabs. Wingnut Wings have followed their usual neat trick of using the cockpit floor to brace the tabs, making for a very solid foundation for the rest of the build. The lower wings and outer panels of the upper wing are moulded solid, so they are quite heavy. The trailing edges are nice and thin.
A Few Details
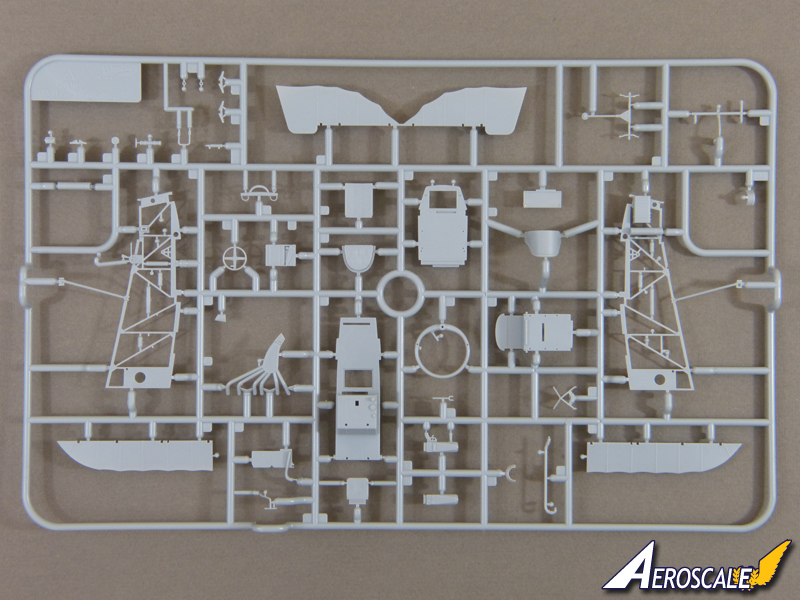
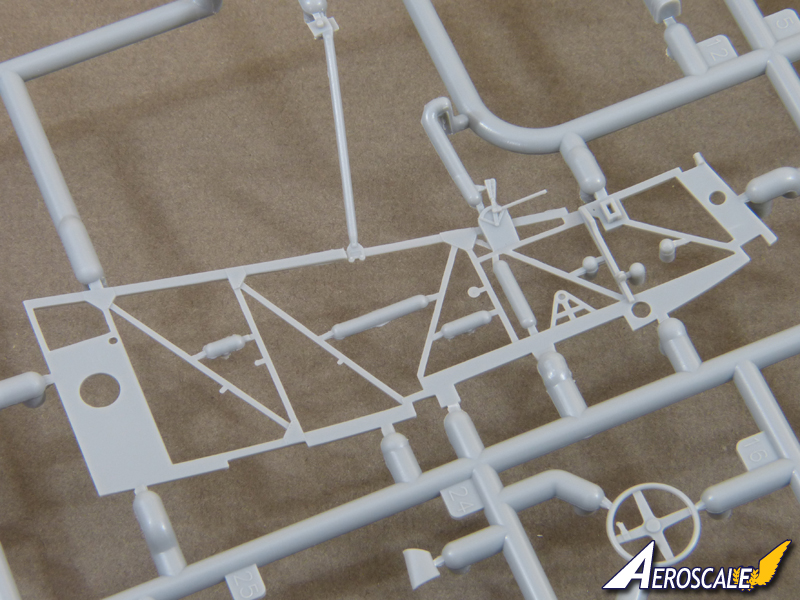
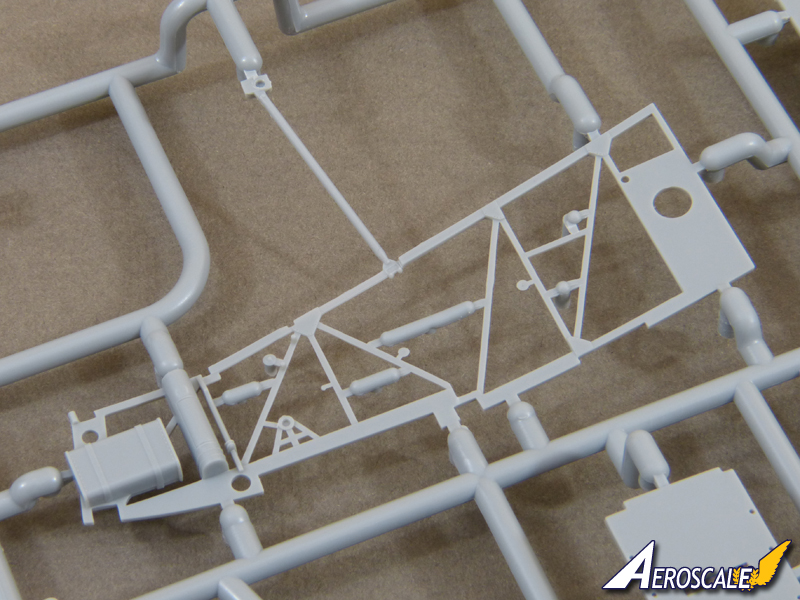
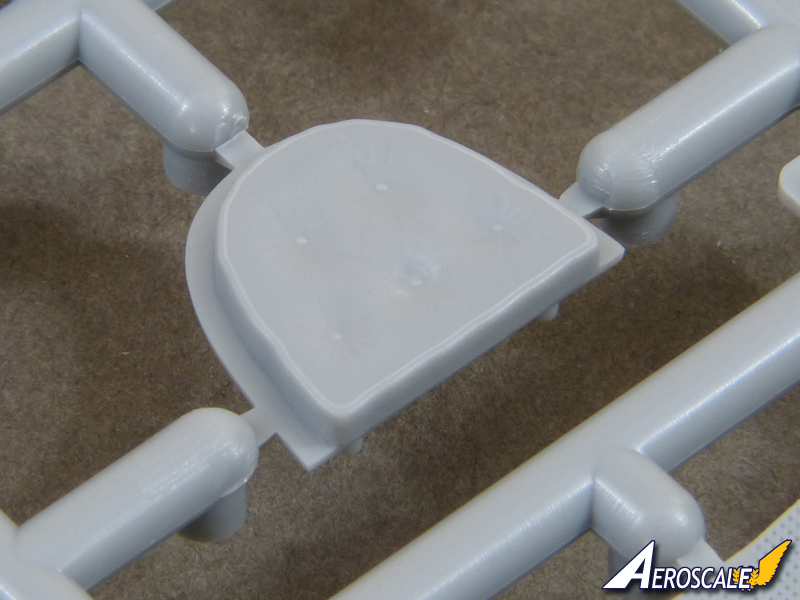
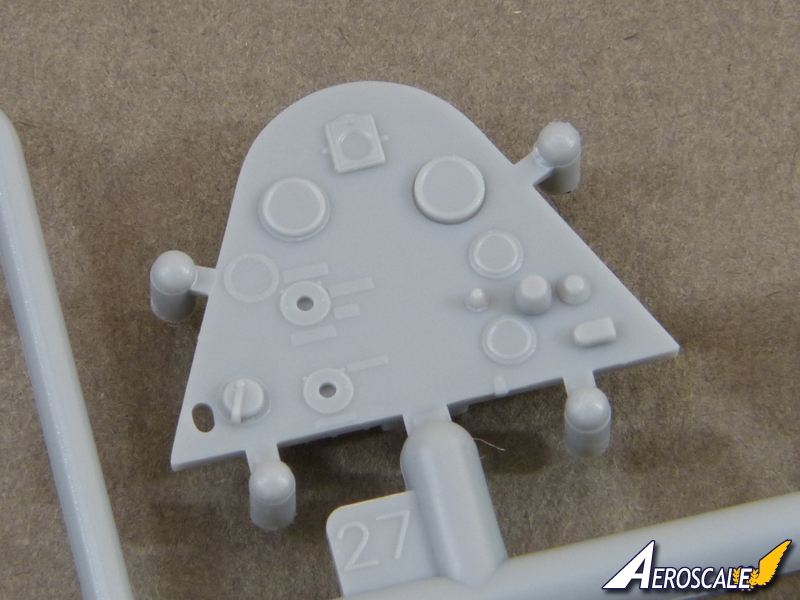
The interior is constructed from around 25 parts. The side frames also include some of the cabane struts moulded integrally, which should ensure a simple and stable mount for the top wing. The instrument panel is crisply detailed and supplied with decals for the instruments and data-plates. Wingnut Wings provide good quality etched brass seat harnesses which look very neat if painted carefully. I've found previously that the belts benefit from annealing to make them easier to bend to shape, and it's worth test-fitting them early (before painting the pilot's seat etc.) to avoid damaging the finish.
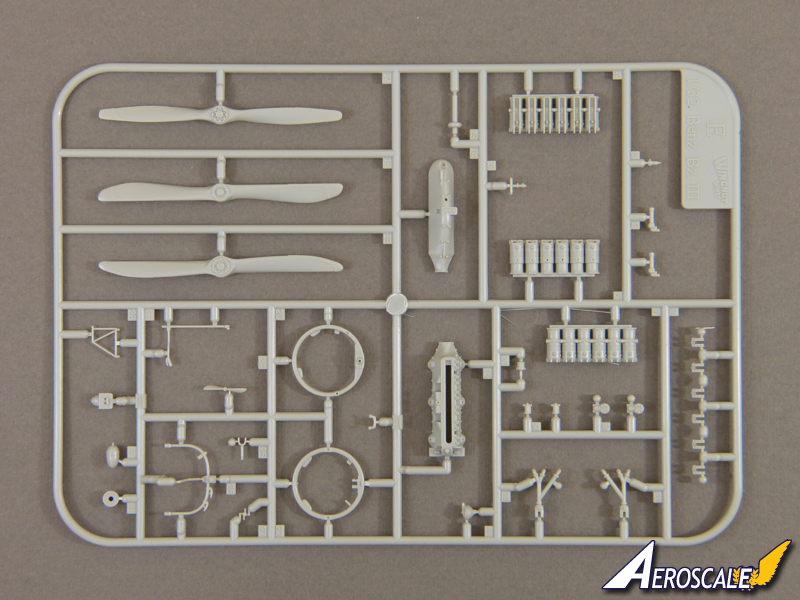
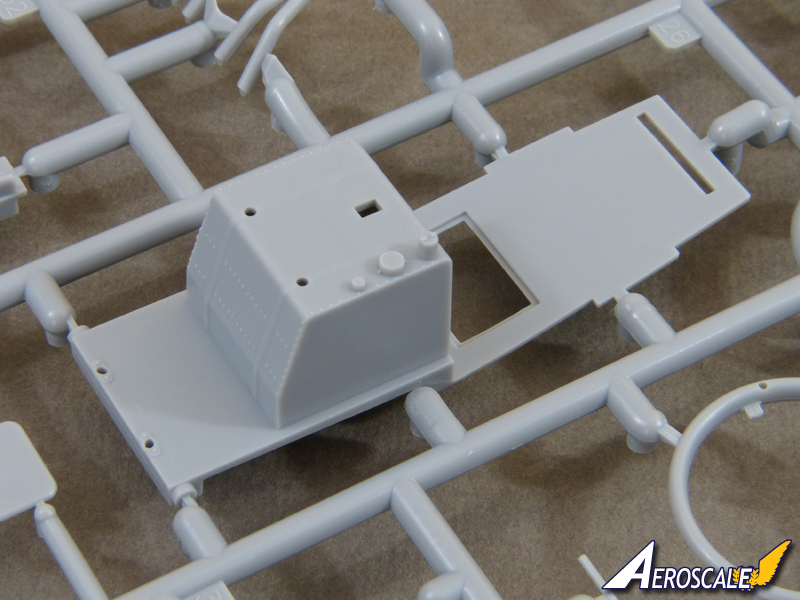
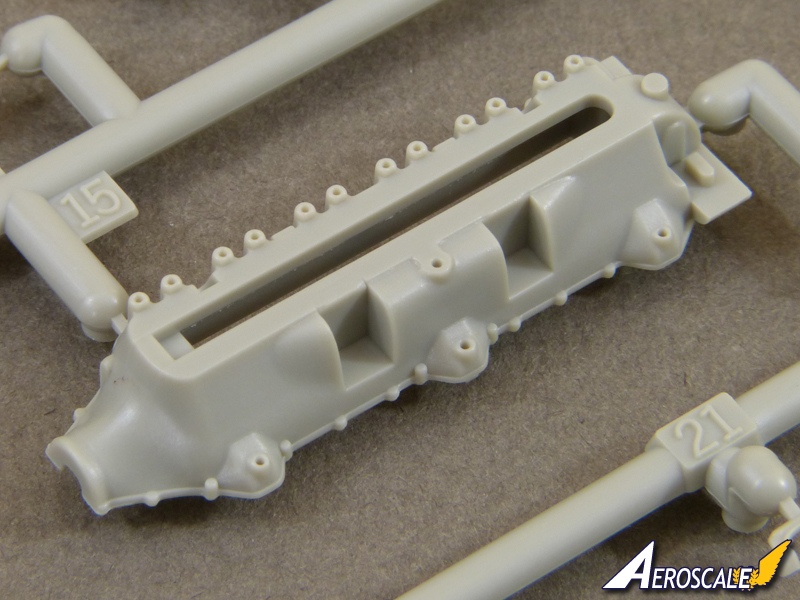
The 150 h.p. Benz Bz.III engine is beautifully detailed and built up from 23 parts. The starbord engine cover can be left off if you want to display the finished engine, so extra work superdetailing it won't be wasted.
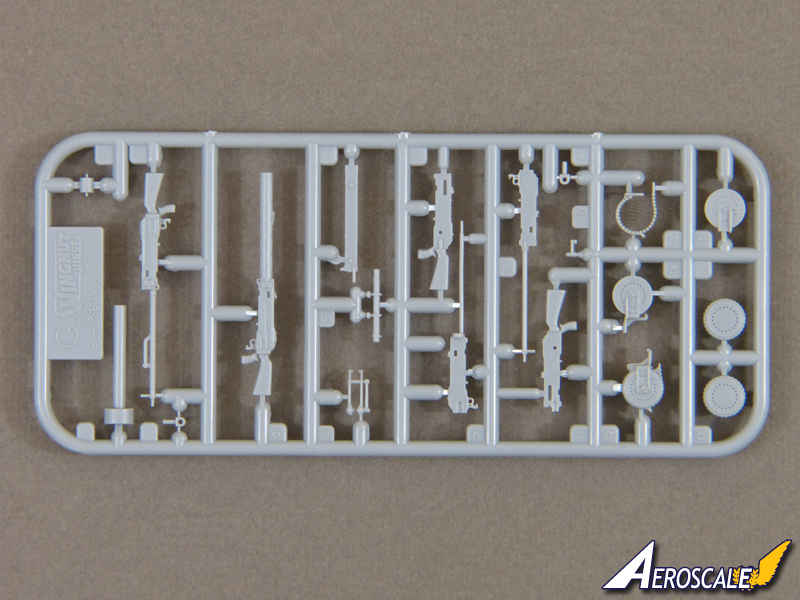
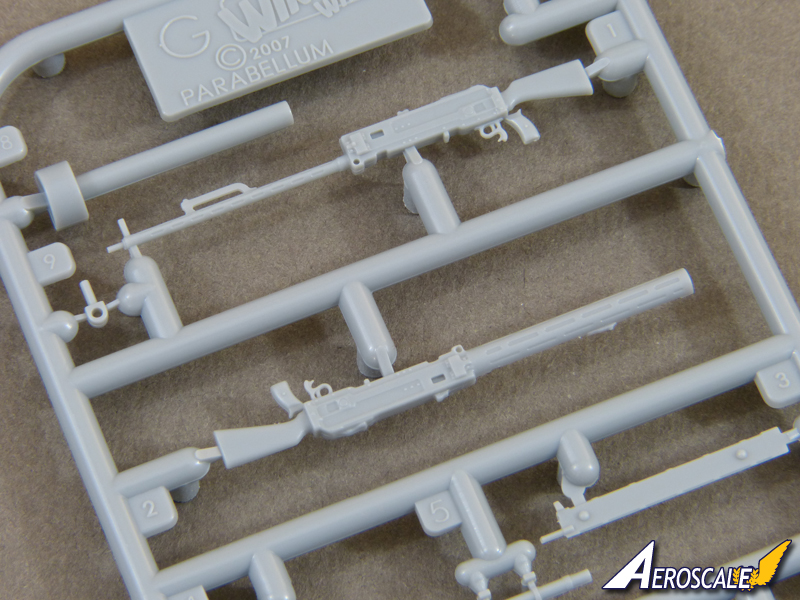
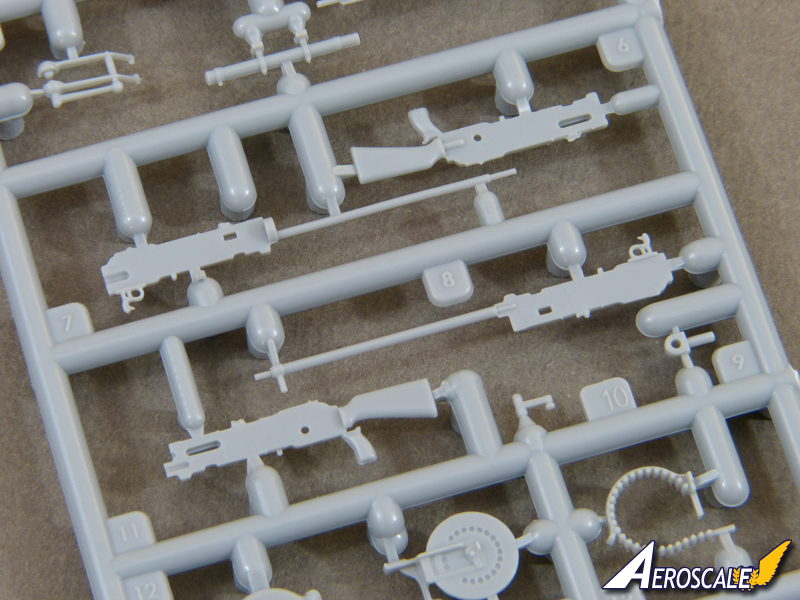
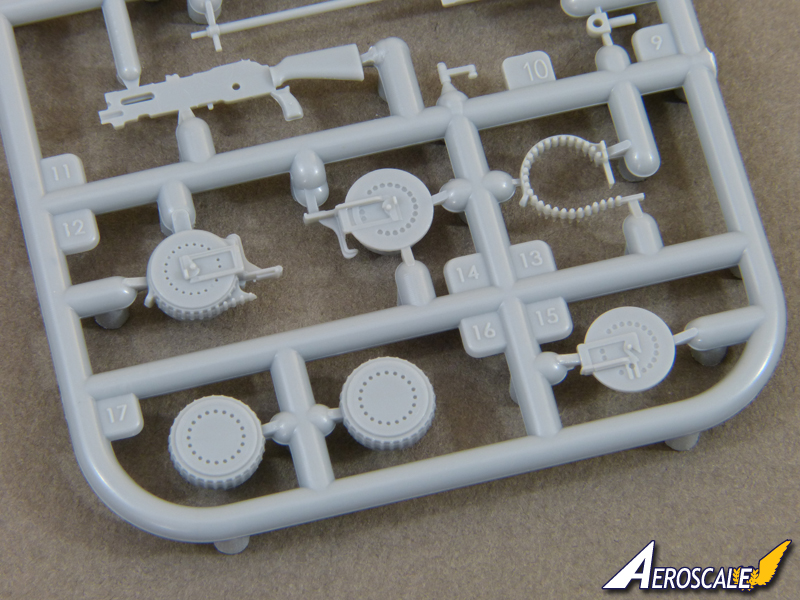
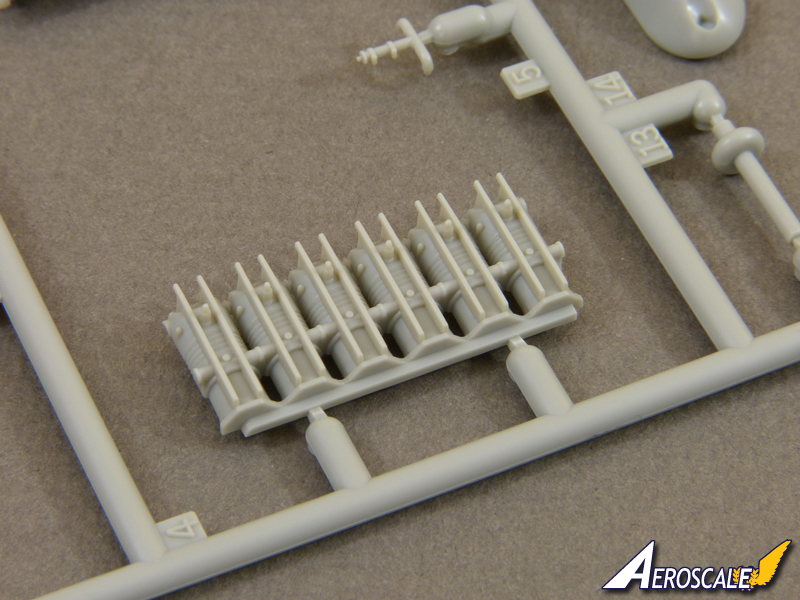
The kit offers the options for both single and dual forward firing guns (C2MG and C3MG specifications), and the guns themselves are supplied in both standard and high detail forms. The standard gun is solid-moulded , while the high detail version includes and etched cooling jacket and sight. The etched parts aren't hard to construct and definitely do look superior, although beginners could always go for a middle option and add the etched sights to the solid guns.
The same is true of the Parabellum, which is also supplied with an optional Oigee sight.
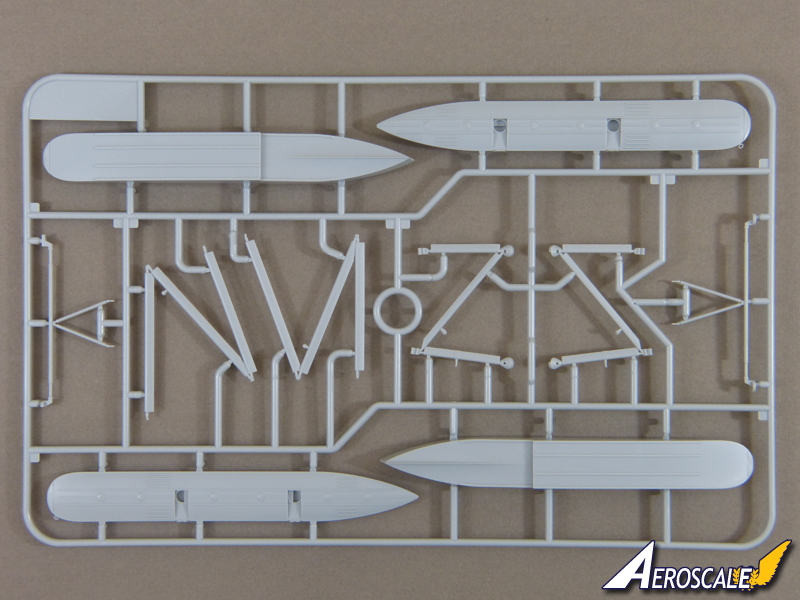
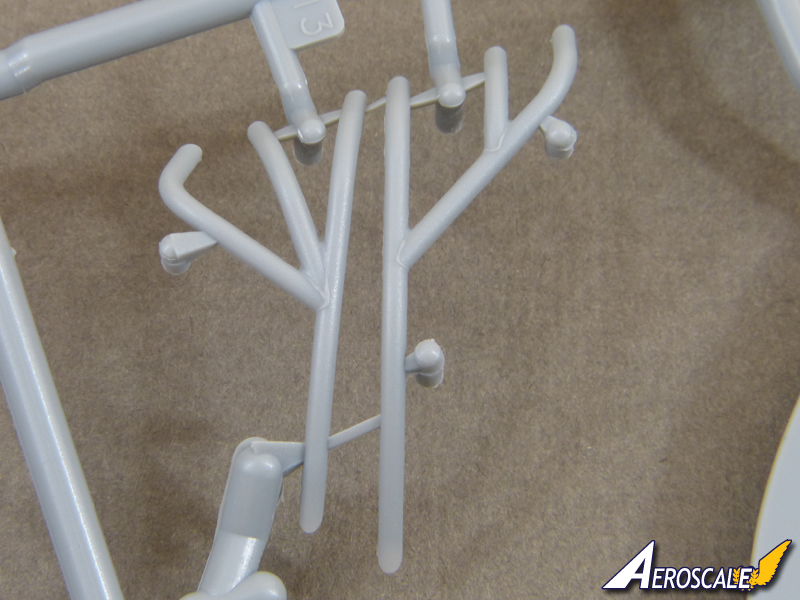
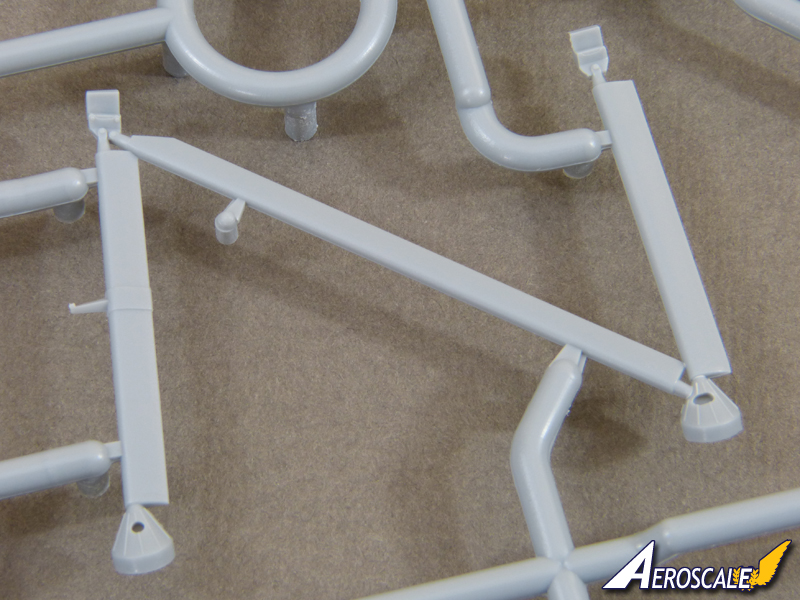
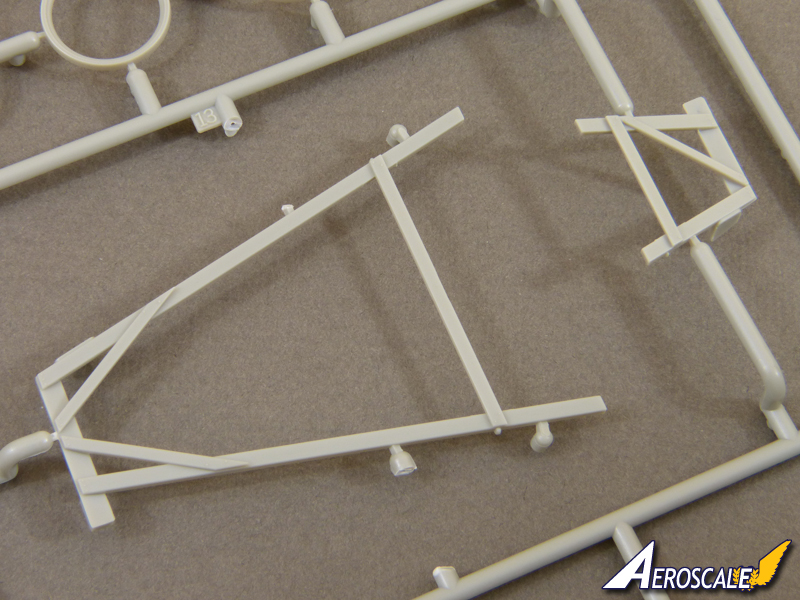
Both the wings and floats look to be pretty straightforward to fit and line-up, thanks to precisely engineered mountings that combine good strength with scale appearance. Despite the apparent complexity of the struts for the floats, the W.12 should be suitable for any modeller with a little experience.
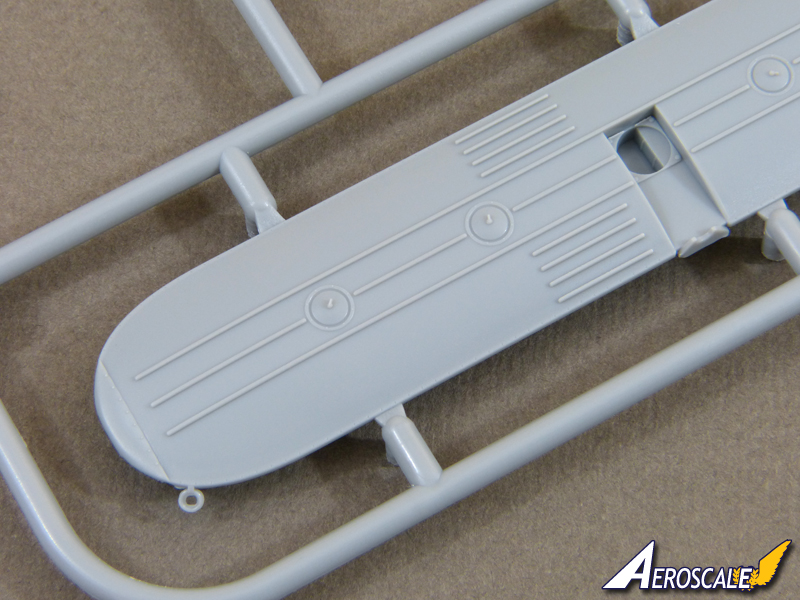
The only slight criticism I'd make of the floats is that the do look very "factory fresh", whereas the reference shots provided in the instructions show quite a heavily stressed appearance. Perhaps Wingnut Wings were stung by the negative reaction in some quarters to the wrinkled fabric effect on their SE5a? If so, it's a shame, because something along the same lines would be appropriate here.
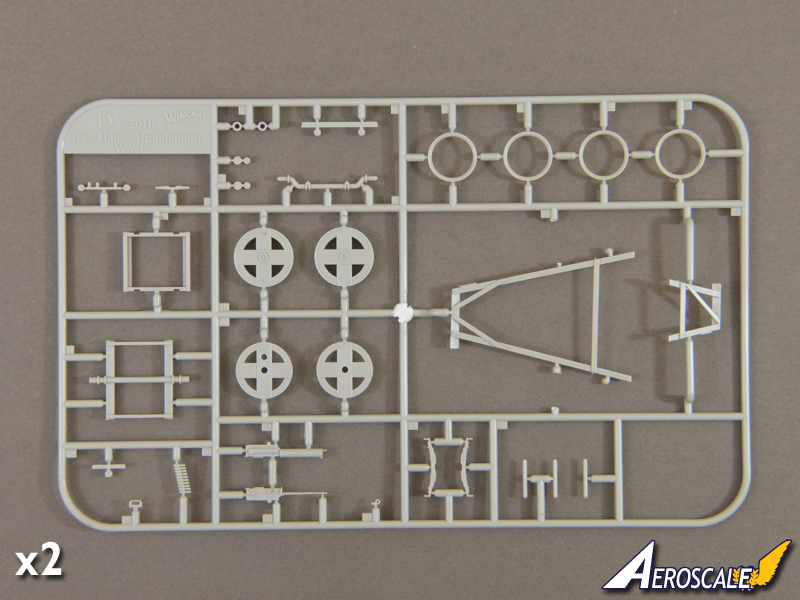
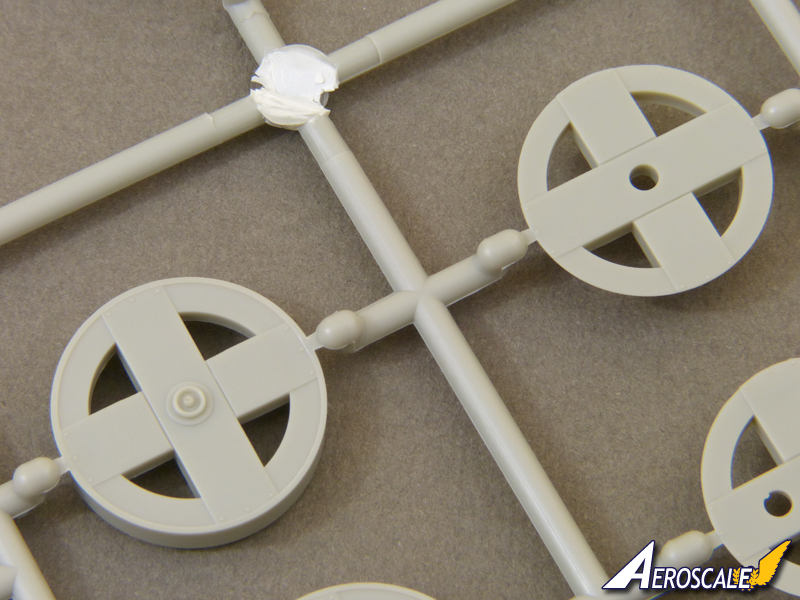
Finally, there's a handly set of beaching dolleys and a trestle on which to display the finished kit. I found the only sink marks in my kit on the wheels, and they shouldn't be hard to tackle.
Instructions & Decals
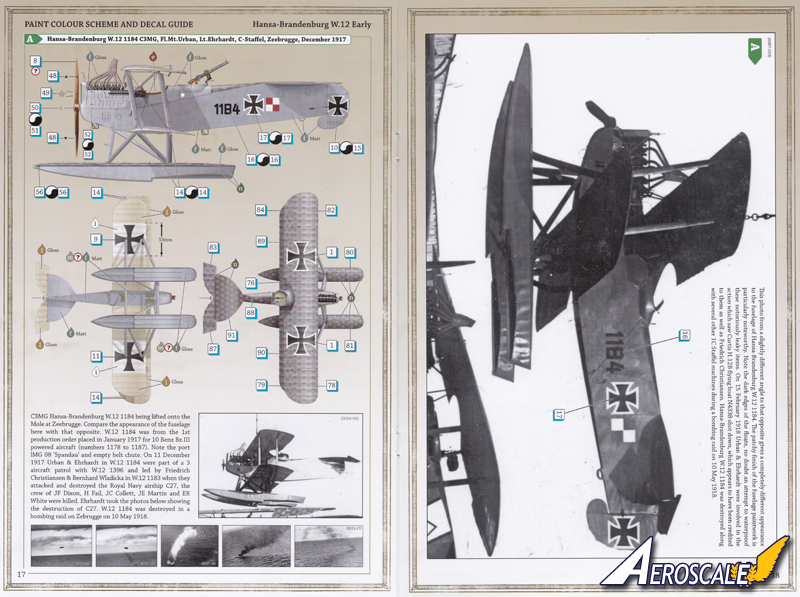
The instructions are very classily printed in Wingnut's traditional style as a 27-page "vintage-look" booklet in colour throughout. The diagrams are excellent and the assembly sequence is very logical. As usual, the instructions include numerous reference photos and detailed notes that put most manufacturers' efforts in the shade.
Colour matches are provided for Tamiya and Humbrol paints, along with F.S. equivalents so you should be able to find suitable matches if you prefer to use other paint brands.
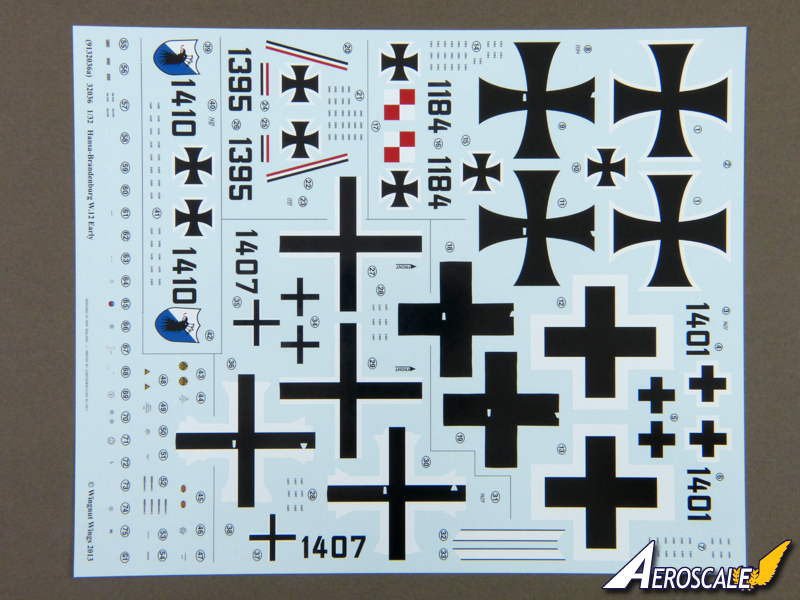
Decals are provided for five aircraft:
A. Hansa-Brandenburg W.12 1184 C3MG, Fl.Mt.Urban, Lt.Ehrhardt, C-Staffel, Zeebrugge, December 1917
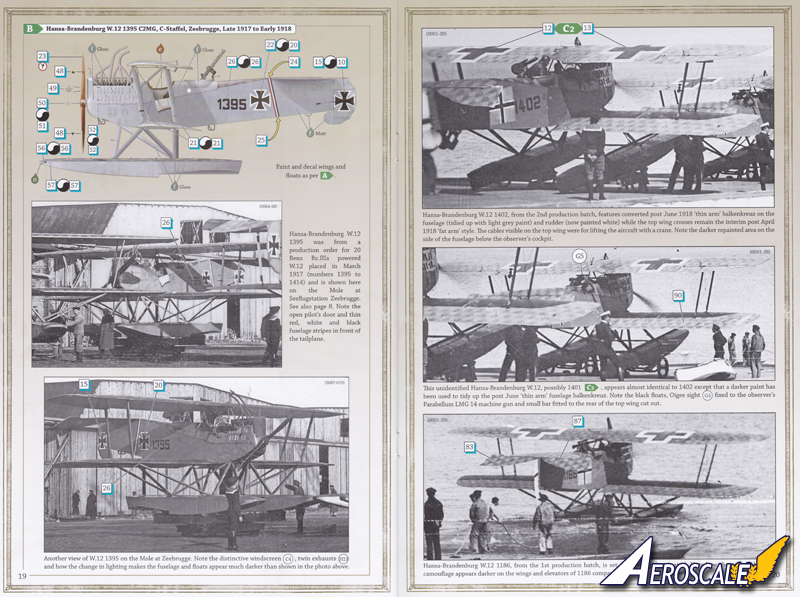
B. Hansa-Brandenburg W.12 1395 C2MG, C-Staffel, Zeebrugge, late 1917 to early 1918,
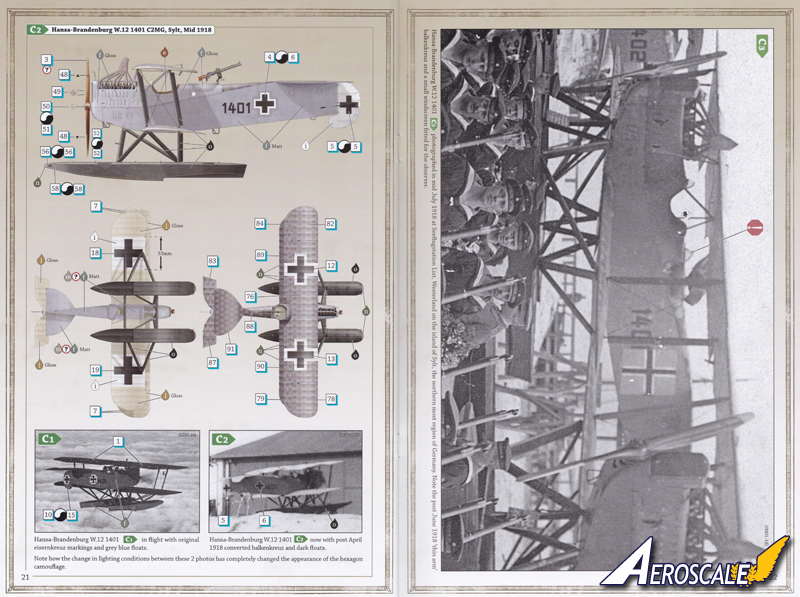
C. Hansa-Brandenburg W.12 1401 C2MG, Sylt, mid 1918
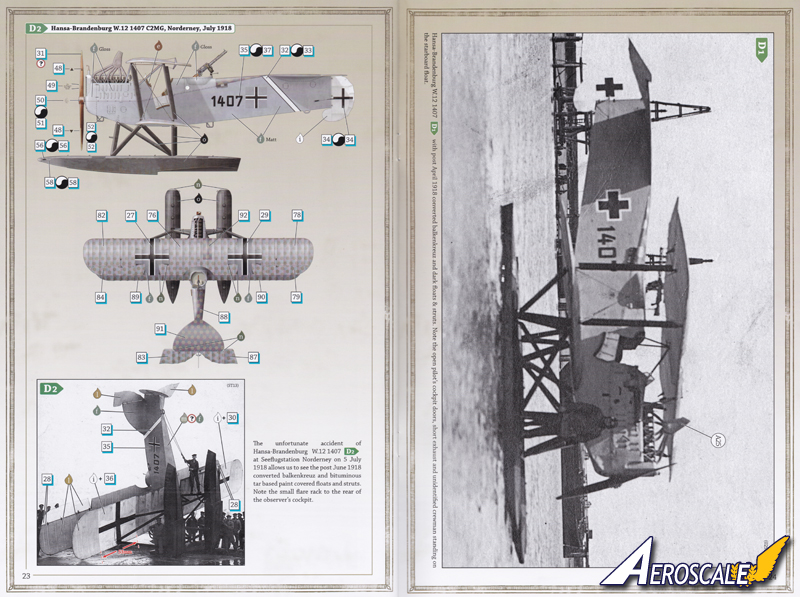
D. Hansa-Brandenburg W.12 1407 C2MG, Norderney, July 1918
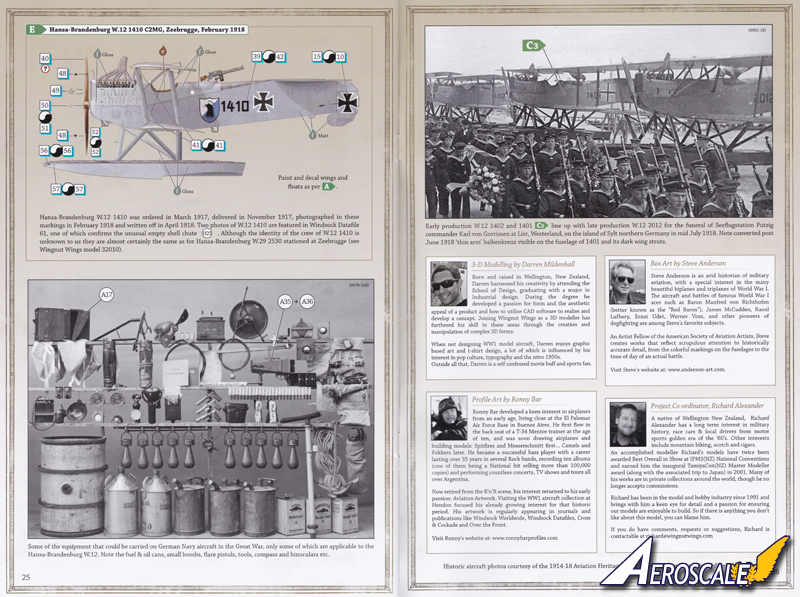
E. Hansa-Brandenburg W.12 1410 C2MG, Zeebrugge, February 1918
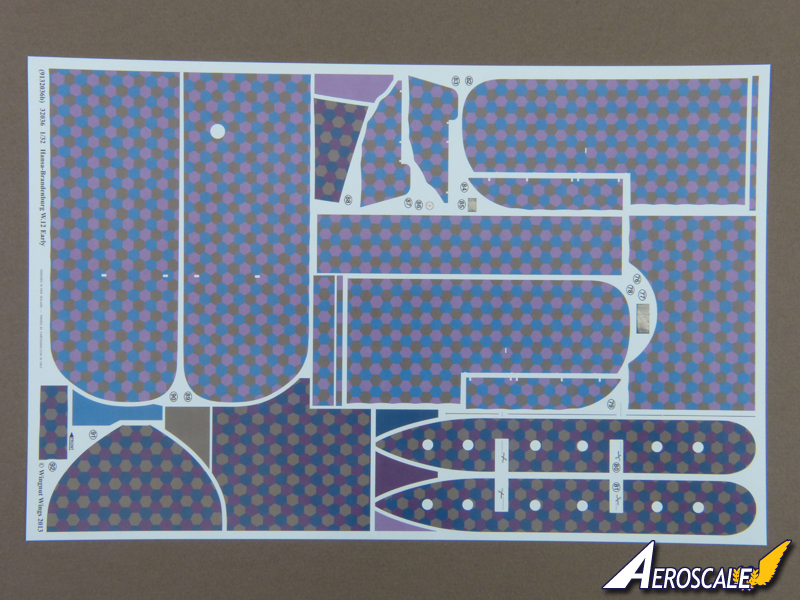
The decals are beautifully custom printed by Cartograf with pin-sharp registration and minimal carrier film. The lozenge patterns are provided in "cookie cutter" form, ready to apply to the wings and tail, fuselage rear decking and the tops of the floats. Setting solution will probably be called for to convince the decals to snuggle down over the moulded detail on the floats, but there's also the option of plain bitumen-painted floats if you come to grief.
Conclusion
Wingnut Wings' W.12 is a gorgeous kit that fully meets the very high standard the company has set with its range. As noted above, it should be suitable for average modellers with a little experience, and promises to be a good first biplane build thanks to there being so little rigging to worry about. Highly recommended.
Please remember, when contacting retailers or manufacturers, to mention that you saw their products highlighted here - on AEROSCALE.
SUMMARY
Highs: A very attractive subject. Beautifully designed and moulded for a straightforward build. Highly detailed. Top quality Cartograf decals.Lows: None that I've noticed.Verdict: As usual with Wingnut Wings kits, it's easy to run out of superlatives to describe the W.12. It's packed with enough detail to satisfy the most seasoned WWI modellers, while promising to be simple enough to build to be suitable for newcomers to the genre.
About Rowan Baylis (Merlin) FROM: NO REGIONAL SELECTED, UNITED KINGDOM
I've been modelling for about 40 years, on and off. While I'm happy to build anything, my interests lie primarily in 1/48 scale aircraft. I mostly concentrate on WW2 subjects, although I'm also interested in WW1, Golden Age aviation and the early Jet Age - and have even been known to build the occas...
Hi again
I couldn't resist jumping ahead a few stages to get the wings started, so I can play with the lozenge decals while continuing to work on the interior. The trailing edges are beautifully thin, while the fit between the outer panels and the upper wing centre-section is very good and the joint is sturdy.
On the topsides, the seam falls in clear space. Once it's filled and sanded, the lozenge decals should help hide it OK:
As good as the fit is, the underside will need treating carefully to avoid damaging the detail - and there'll be nowhere to hide, because it will have a clear doped linen finish that will expose any flaws:
All the best
Rowan
Hi again
All set for painting - so it's time to break out the clothes pegs!:
This was the scene earlier, with the smaller parts ready for spraying in their basic colours. That's done now, so I'll let them dry overnight before starting to play at doing woodgrain and weathering.
All the best
Rowan
Hi again
Sorry for the lull. After a few days out of action through work, I'm looking forward to cracking on a bit.
Before I left, I gloss-coated the tail with Xtracolor Medium Sea Grey ready for a first play with the lozenge decals. This highlights some slight sinkage cause by the deep locating slots on the underside:
If this was a standard, painted finish, I'd definitely fill and level the marks, but the lozenge decals may disguise them - we'll see in due course...
Hopefully, I'll get a good bit done this weekend; the interior's blocked out in the basic colours, so I'll try to post more updates before long.
All the best
Rowan
Hi again
Well, I'm glad I tested the lozenge decals on the tailplane, because I tried Humbrol's DecalFix (new style) for the first time - and it had, basically, no effect whatsoever on the Cartograf decal. I left it all day and overnight and, as far as I could see, it didn't tighten the decal around the raised detail at all. I've applied some Mr. Mark Softener this morning and can see it's working already, so that's a lesson learnt.
All the best
Rowan
Hi again
Onwards and downwards! In my usual haphazard building style, I've started playing with filling the seams on the top wing:
I've used Deluxe Materials "Perfect Plastic Putty" - which, of course, isn't "perfect" (what is?), but does do an excellent job - and is water-solluble, so it doesn't risk damaging the surrounding detail.
A bit of sanding was required to level the sections in places, and a coat of Humbrol enamel primer shows there's little more work to do, but is quite encouraging, nevertheless - this was the one part of the build that rang a few alarm bells for me because, no matter how well WNW engineered it, it's an awkward joint in an exposed position.
All the best
Rowan
Hi Tom
As I started out trying to keep this one basically OOB, I followed the instructions and used the moulded-on set. They're very crisp (as you'd expect with a WNW kit) but, now I've decided I can't bear not to at least add some ignition wires, I've blown my "OOB" idea anyway. I'd go for adding separate push-rods if I were to do it again - they'd only take a couple of ticks and would look superior.
I've finally got a bit of time free this weekend, so I hope to make a bit of progress once I've caught up with reviews etc.
All the best
Rowan


Comments