History
The Folland Gnat was a small, swept-wing British subsonic jet trainer and light fighter aircraft developed by Folland Aircraft for the Royal Air Force and flown extensively by the Indian Air Force.
The Gnat was designed by W.E.W. Petter as a development of the private venture Folland Midge. It first flew in 1955. Its design allowed its construction without specialised tools by countries not highly industrialised.[1][2] Although never used as a fighter by the Royal Air Force (RAF), the Gnat T.1 trainer variant was widely used. The Gnat became well known as the aircraft of the RAF's Red Arrows aerobatic team.
The Gnat was exported to Finland, Yugoslavia and India. The Indian Air Force became the largest operator and eventually manufactured the aircraft under licence. India then developed the HAL Ajeet, a modified and improved variant.
Info from Wikipedia
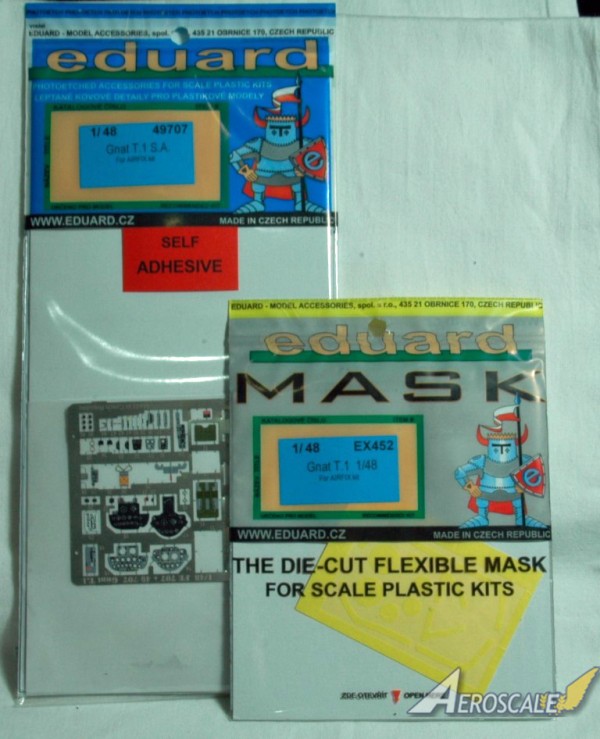
In the bags
Eduard have released update sets dedicated to Airfix's new tool 1/48th Gnat T.1. The first set we shall look at covers the interior and a few external parts with the second set containing paint masks.
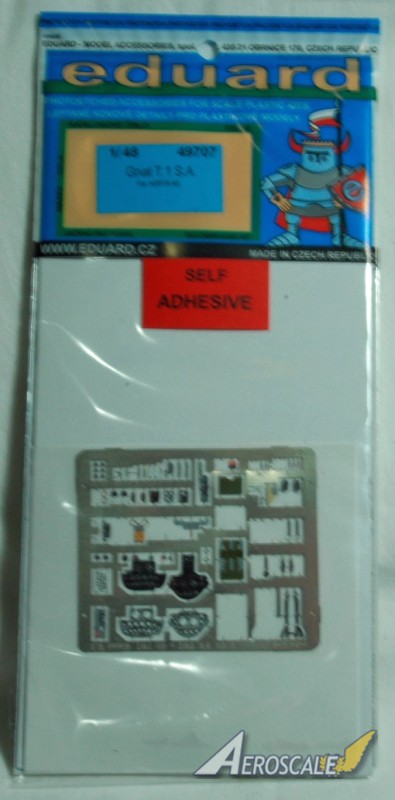
Folland Gnat T.1 S.A.
Mfg. ID - 49707, Suggested Retail - £ 16.99 (Hannants)
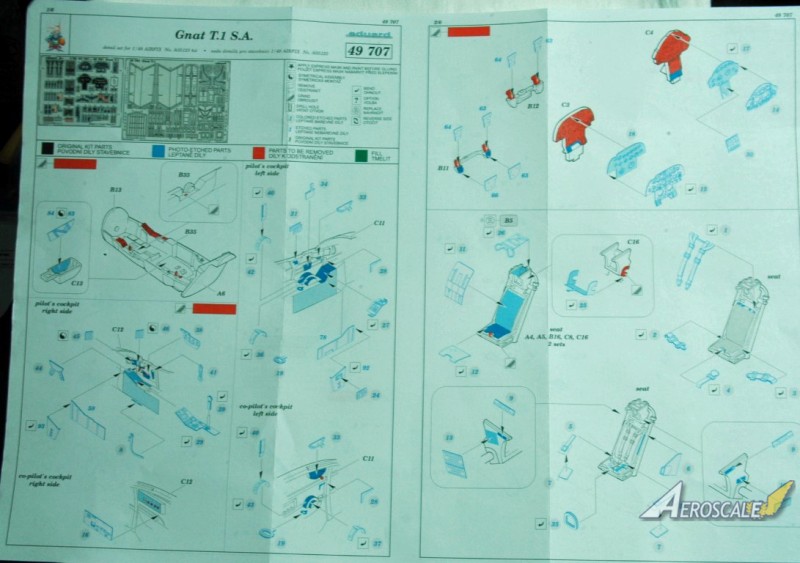
This set has two photo etch frets, one pre-coloured and self adhesive, and one plain fret. Two sets of instructions are included in the re-sealable bag.
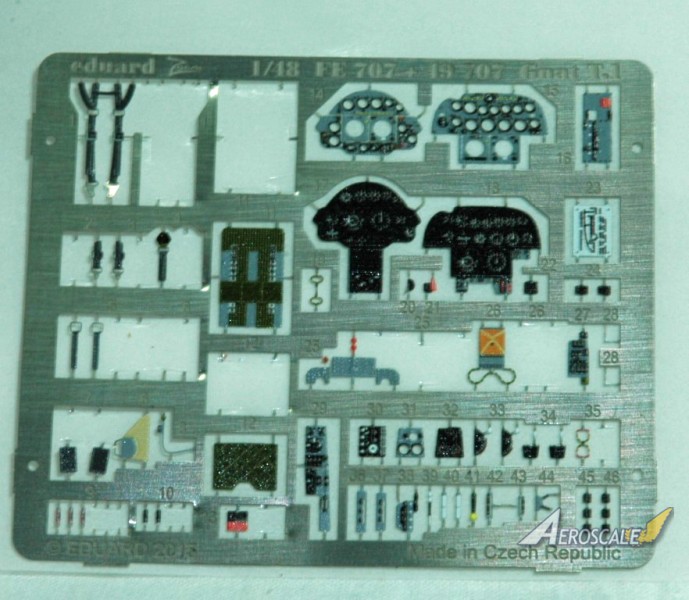
The pre-coloured and S.A fret holds the parts for the cockpit.
The bang seats are completely made over with new seat cushions, harness's and ejection pull handles.
The photo on the right, has three types of seats that I have for the Gnat. The first is the standard Airfix seat, which is pretty decent to start with, but does lack a couple of the harness's. The second is the Pavla replacement, which is a one piece resin part. This does look good, and is slightly more 3 dimensional the Eduard one, but you will need to buy two as Pavla only supply one seat in the packaging. The last seat is the Eduard one, which uses the Airfix seat as a base, and has numerous parts attached, including the several harness's, seat cushions, pull cords and a couple of stencil placards for the top side of the seat.
The cockpit also has a lot of detail added, with new side consoles, instrument panels, rudder pedals and sidewall details. All the Eduard parts for this area are pre-coloured and self adhesive. I have had mixed results with the S.A parts from Eduard. I have used a couple of the S.A sets and one didn't stick to anything, and I ended up using glue, but the set I used for the Super Tucano stuck down first time with no problems.
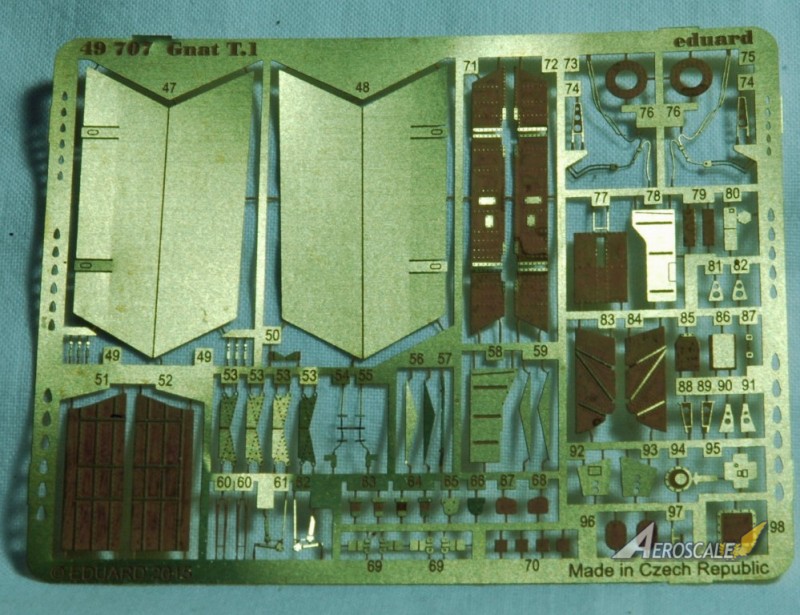
The majority of the parts on the plain fret holds parts for the undercarriage and flaps.
The undercarriage gets a near enough complete makeover, with the undercarriage legs getting brake lines and a couple of other detail parts. The bays have several P.E placards and access panels added. The nose gear bay has a complete new floor attached. The nose bay door has a new inside face and the main gear doors have two new strengthening spars attached.
The flaps, which can be modelled dropped in the kit, are completely replaced with P.E flaps and have a couple of flap actuators to be added.
The canopy has a rear view mirror, and the external fuel tanks have new fuel caps to be added. A couple of bits go into the open nose section avionics bay.
The two instruction sheets are printed in the typical line drawings style. Various symbol's for replacing parts, bending P.E and adding parts to the kits parts are easy to read. Red shaded areas are for removing moulded on detail, of which most of this is in the cockpit.
If you have used Eduard P.E before then you will pretty much have your own way of following the build sequence in conjunction with the kits instructions. If you have never used PE instructions before then it can get a little confusing juggling several sets of instructions at a time without missing any parts. My way of tackling this problem is to mark a big "E" at the start of the build next to any parts in the kits instructions that have P.E added or replaced.
This set is worth the time and effort if you are planning to build the Gnat with an open cockpit, and wheels down.
85%
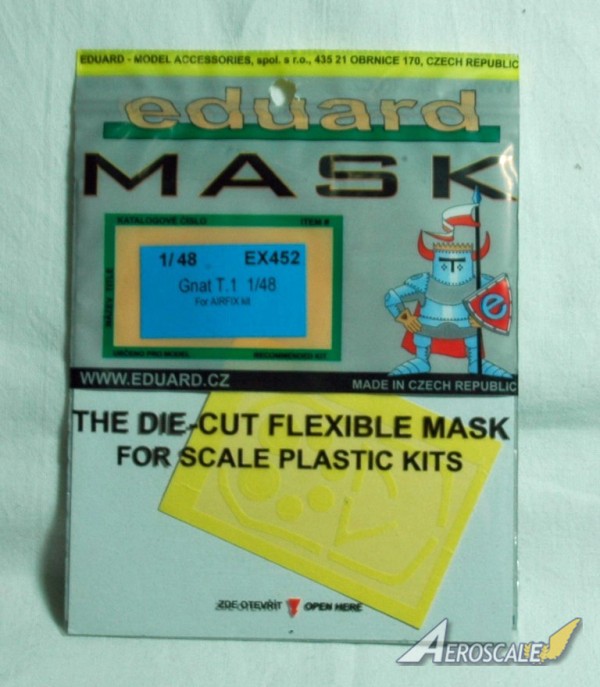
Folland Gnat T.1 paint masks.
Mfg. ID - EX452, Suggested Retail - £ 5.99 (Hannants)
The one small Kabuki tape mask sheet and a one page instruction sheet are packed in a re-sealable bag,
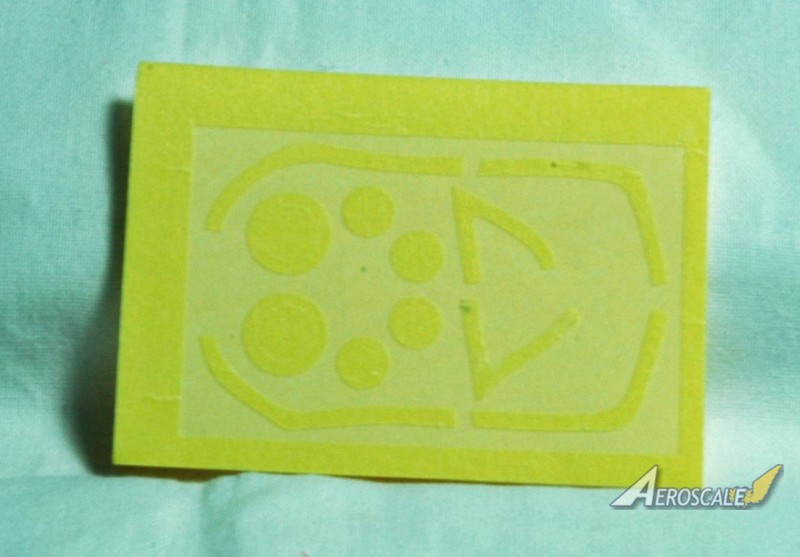
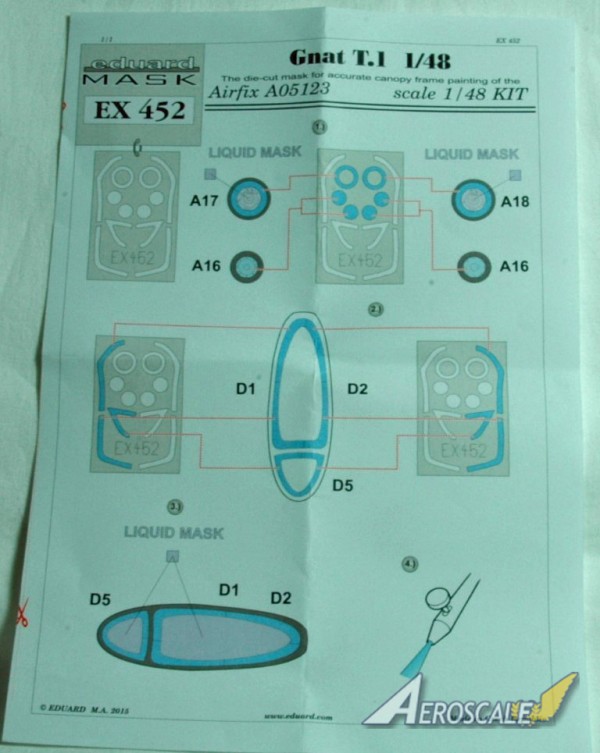
The mask set has masks for the two canopy sections. the main canopy is a four mask affair, which only cover the edges of the canopy, so liquid mask will need to be applied. The windscreen is made up of two parts and as with the main canopy liquid mask will be needed to fill out the center.
The rest of the masks in this set are for the wheels. The main wheel mask cover one side of the tyre part, so you can spray the hub. The spoked hub is a separate part in the kit so no masks are needed for this part.
The twin nose wheels have masks for the hubs, so the tyres can be sprayed. There are four of these masks.
This mask set is handy, but I wouldn't call it an essential item.
60%
Rowan Baylis has reviewed the Airfix Gnat
here.
Please remember, when contacting retailers or manufacturers, to mention that you saw their products highlighted here - on
AEROSCALE.


Comments