_GOTOBOTTOM
Pre-Flight Check
Constructive critique of your finished or in-progress photos.
Sea Vampire
ltb073
_VISITCOMMUNITY
New York, United States
Joined: March 08, 2010
KitMaker: 3,662 posts
AeroScale: 174 posts
Posted: Tuesday, December 31, 2013 - 07:06 AM UTC
Hi Folks
I received Cyber-hobby Sea Vampire F.20 to do a build blog of so here we go.
 photo P1080565.jpg
This kit is 1/72 scale Golden Wing Series and has a date of 2013 on the box and as you can see it does not have many parts. There is 2 gray spruces and 1 clear spruce for the canopy.
The instructions has 3 steps and comes with illustrations and markings for 3 different aircraft
 photo P1080567.jpg
 photo P1080569.jpg
 photo P1080568.jpg
More soon
raypalmer
_VISITCOMMUNITY
Ontario, Canada
Joined: March 29, 2010
KitMaker: 1,151 posts
AeroScale: 985 posts
Posted: Tuesday, December 31, 2013 - 07:34 AM UTC
Very keen to see what you do about the cockpit on this one!
ltb073
_VISITCOMMUNITY
New York, United States
Joined: March 08, 2010
KitMaker: 3,662 posts
AeroScale: 174 posts
Posted: Wednesday, January 01, 2014 - 06:42 AM UTC

Quoted Text

Very keen to see what you do about the cockpit on this one!


Well there is really not much you can do with it
Its 3 pieces as a sub step in step 1
 photo P1080570.jpg
but when its in stalled and the canopy is in place not much of it will been seen
This is it installed step 1 completed
 photo P1080571.jpg
Also in step 1 you are told to add a 2.5 g weight into the nose to avoid a tail sitter but a heavier weight is needed
Step 2 is the tail booms but the openings are the booms are larger then the fuselage piece so be careful here
 photo P1080573.jpg
 photo P1080574.jpg
In Step 3 you are given the option of flying or taxing mode each mode uses different pieces so I chose the Taxing mode
 photo P1080576.jpg
there is also an option for the flaps to be open or closed. No armament options just 2 drop tanks
 photo P1080575.jpg
Now its ready for primer
ltb073
_VISITCOMMUNITY
New York, United States
Joined: March 08, 2010
KitMaker: 3,662 posts
AeroScale: 174 posts
Posted: Friday, January 17, 2014 - 09:38 AM UTC
Back at the Sea Vampire
The Instructions called for Mr Color and Model Master Paints, so LMHS stocks Model Master but they didnt have the Dark Sea Gray#1592 that was referenced so I made my own with Insignia Blue #4742 made lighter with a few drops of Dark Gull Gray #4755
 photo P1080589.jpg
 photo P1080588.jpg
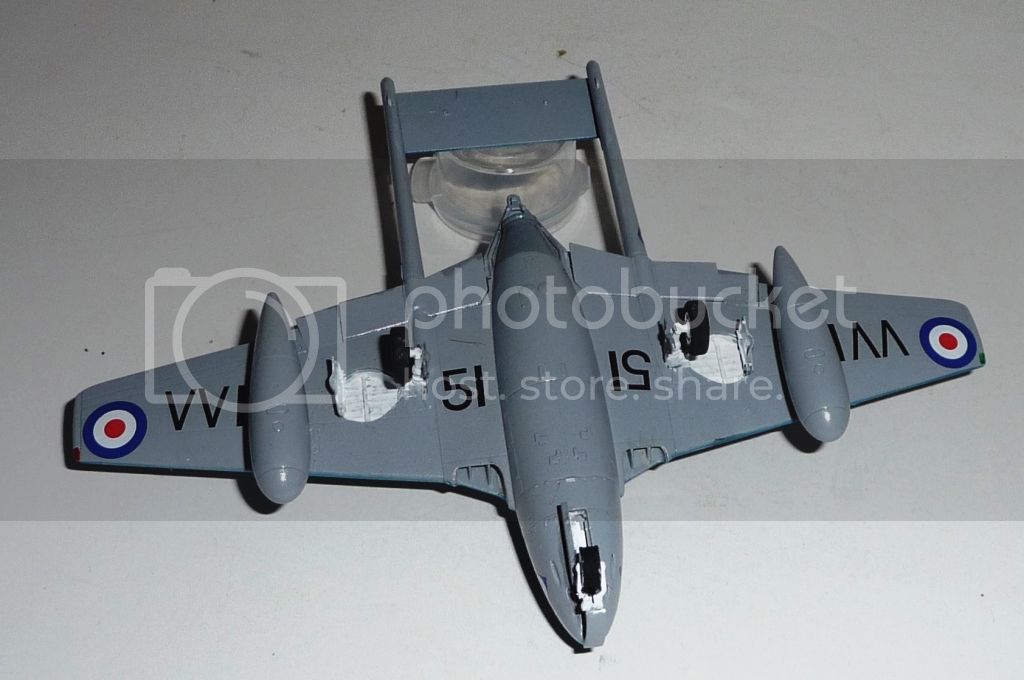
For the lower half I used rattle can grey primer.
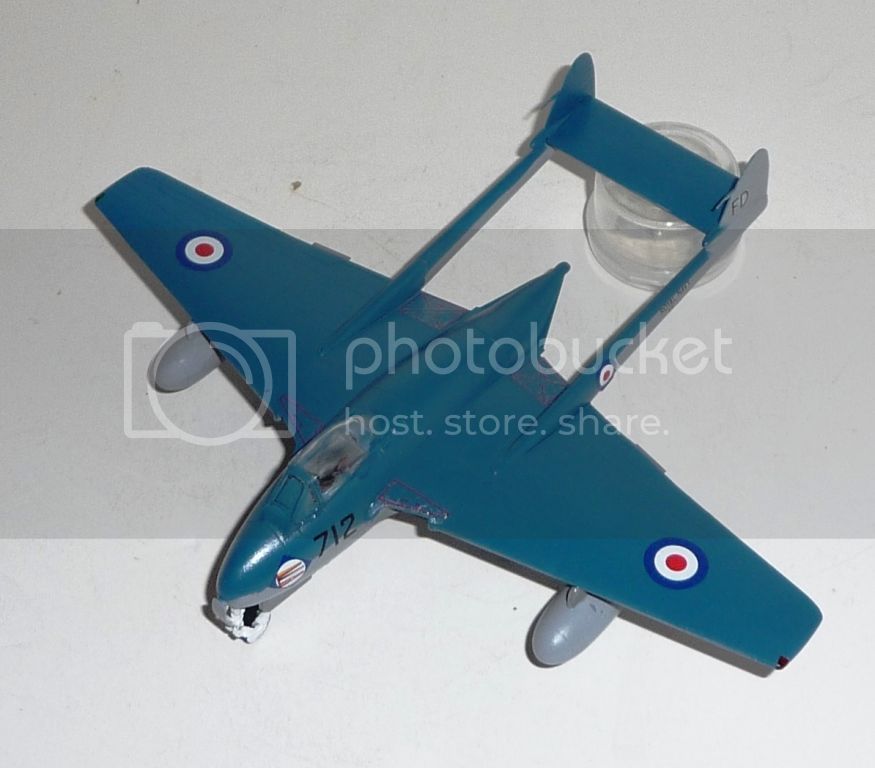
Next up was the marking where there was 3 different options, I chose to go with the box art which was N0.712 Squadron, RNAS Ford 1956 and this is when the problems started
 photo P1080596.jpg
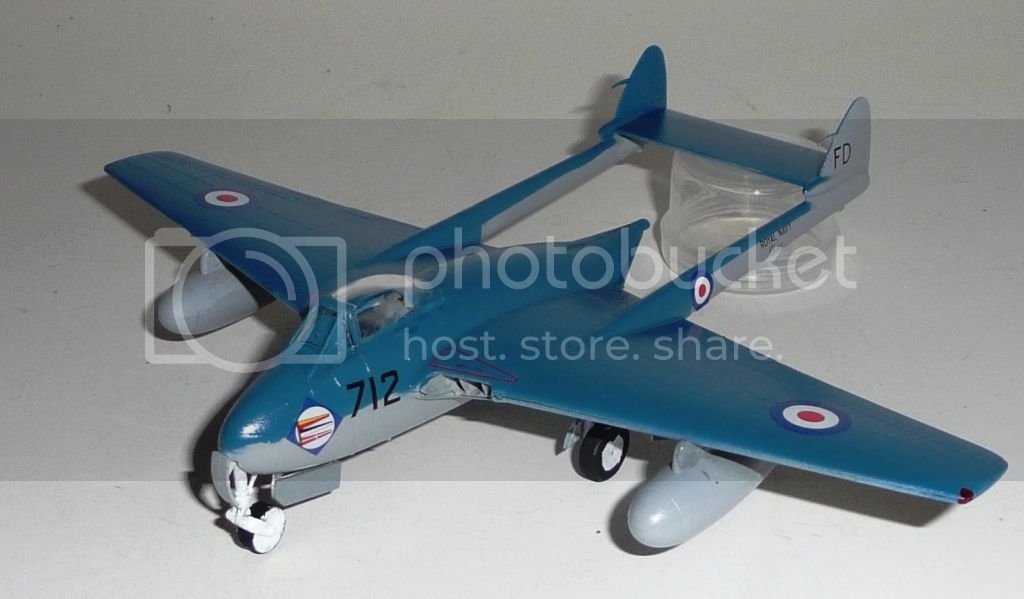
The decal sheet was so small and the decals were extremely close to each other that a hobby knife had to be used and care taken not to cut into another decal. Also they did not adhere very well to the paint. I wound up losings some of the small fuselage lettering and had to coat what I had on with Futures.
 photo P1080597.jpg
The instructions did not call for a specif color for the landing gear struts but I painted them white anyway
 photo P1080600.jpg
This kit list for about $24 US and personally I feel that is a lot of money for a kit that only has 46 peices 3 of which don't get used
AirLedge
_VISITCOMMUNITY
Cork, Ireland
Joined: July 26, 2007
KitMaker: 292 posts
AeroScale: 265 posts
Posted: Friday, January 17, 2014 - 10:48 AM UTC
Hi Sal,
Great job. The Dragon Golden Wings series kits were always on the pricey side, I've an Me 1101 in the stash. However, $24 seems way too much for what you get
 _GOTOTOP