


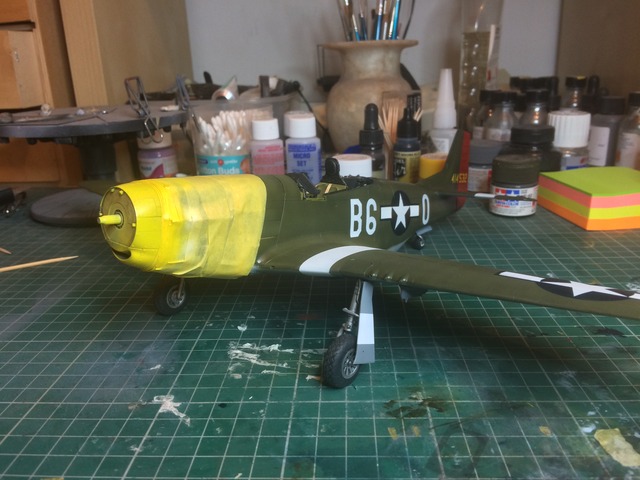
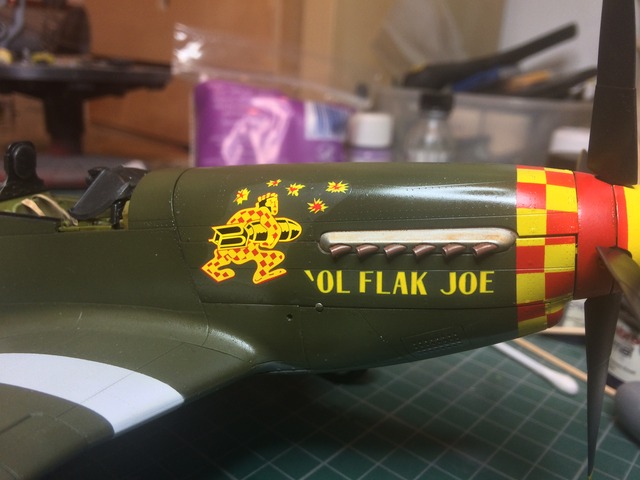
Markings turned out great , what is your yellow mix ? I like it . I also had a relapse and their was no way on stopping the fingers taking over the keyboard .
Terri , who has weakness for Mustangs .


Nigel
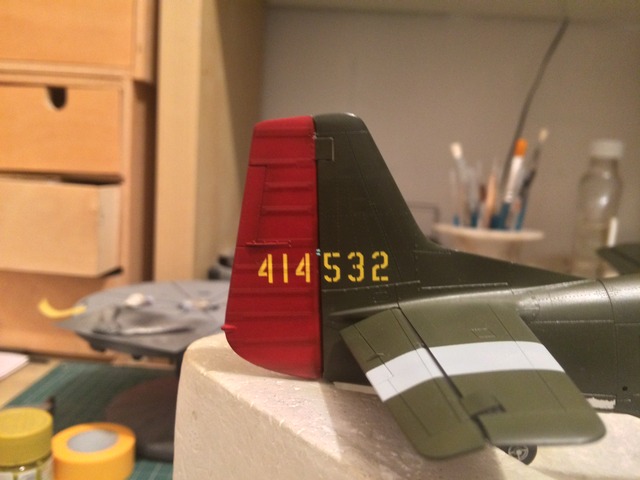
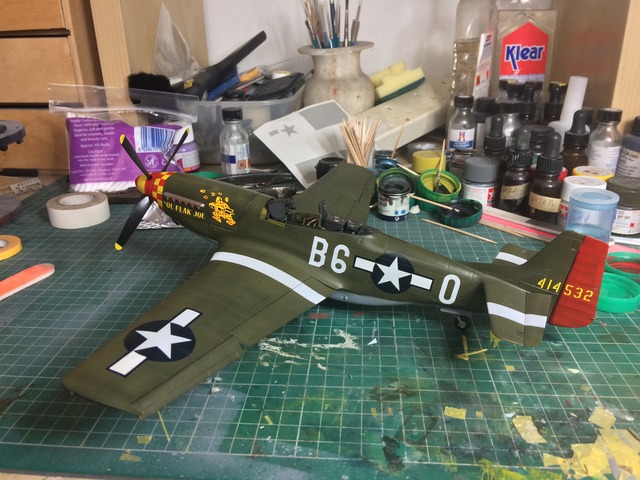
The Serial numbers look great. Not a drop of flash can be seen anywhere
the angle of the letters on the rudder really does throw off one's perspective. But they're still perfectly aligned to each other.
Joel
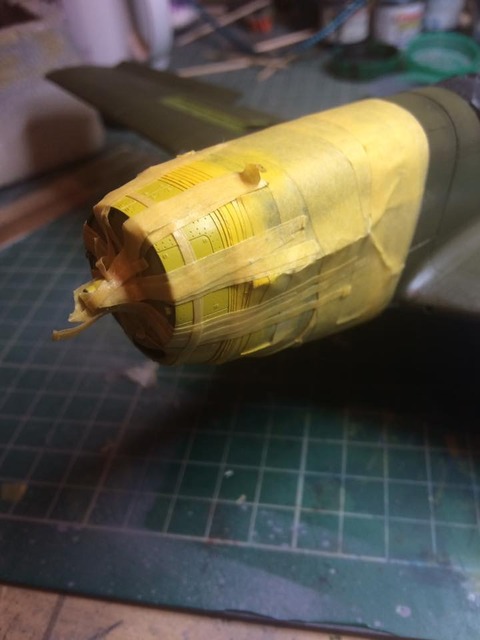
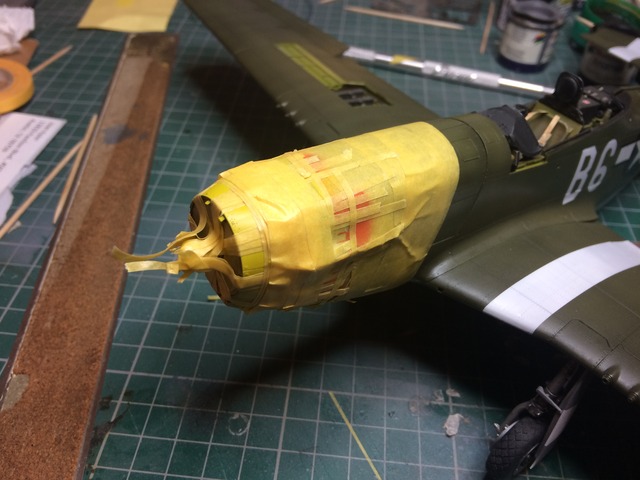
Looking forward on seeing how the checkers turn out . I have tried masking these in the past before and each time was a epic fail . Decals are fine with me , yes I cheat on this part
Markings turned out great , what is your yellow mix ? I like it . I also had a relapse and their was no way on stopping the fingers taking over the keyboard .
Terri , who has weakness for Mustangs .


Nigel,
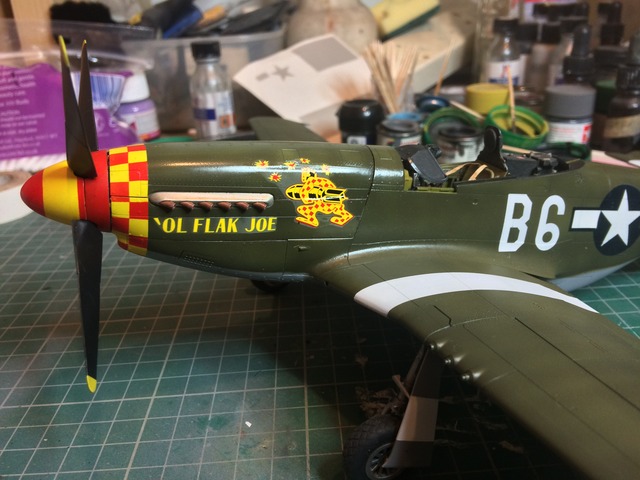
Your Masked marking really are outstanding.


It'll be fine
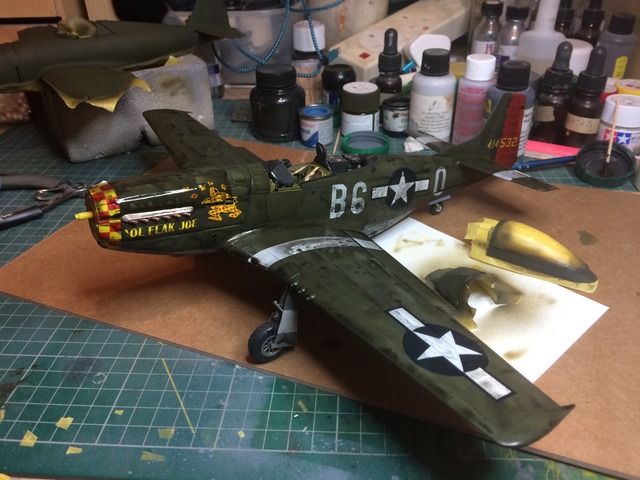
The important thing to remember is that few, if any of the "squares" are actually squares 😳😳😳
Still got some overspray to be address on the red area of the port side of the rudder. Did the OD bit this afternoon 😊
Quoted TextIt'll be fine
The important thing to remember is that few, if any of the "squares" are actually squares 😳😳😳
Still got some overspray to be address on the red area of the port side of the rudder. Did the OD bit this afternoon 😊
Nigel,
How do you go about figuring out the correct shape and size?
Joel
.Quoted TextQuoted TextIt'll be fine
The important thing to remember is that few, if any of the "squares" are actually squares 😳😳😳
Still got some overspray to be address on the red area of the port side of the rudder. Did the OD bit this afternoon 😊
Nigel,
How do you go about figuring out the correct shape and size?
Joel
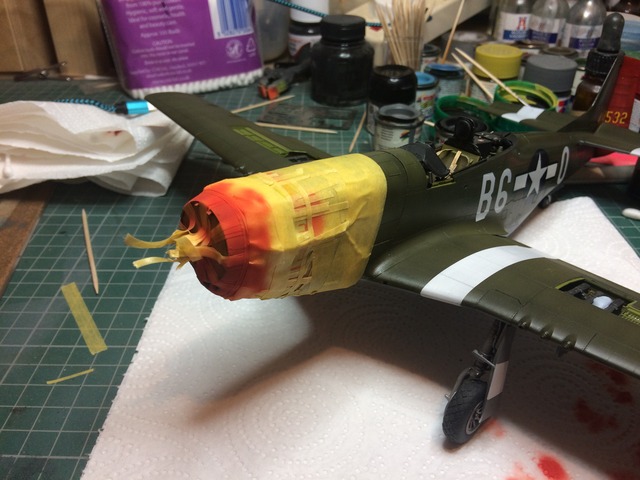
A highly technical process of trial and error followed by trial and error
I'm just making all this up as I go along Joel

Hi Nige!
My browser seems to be broken down as it doesn't display any updates of your build... How's the progress then?

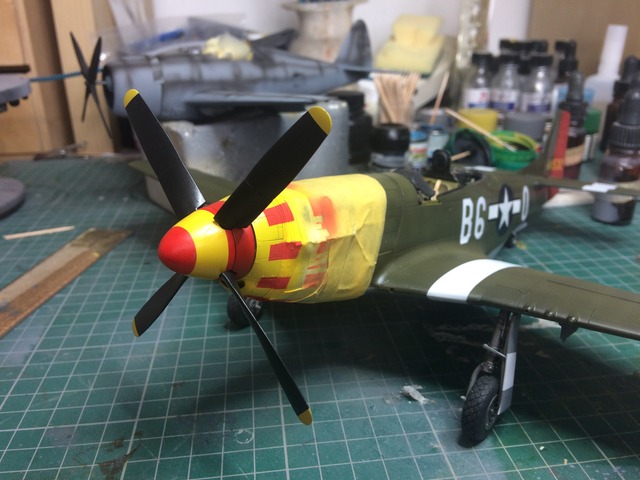


 That nose- perfect checks-cheers!


 but I'll leave it overnight to dry and get stuck in with the paper towel and cotton buds tomorrow.

 |


