Quoted Text
But you can't just post a picture and move on. Please explain what you did, and colors used. Great progress. Snow days?

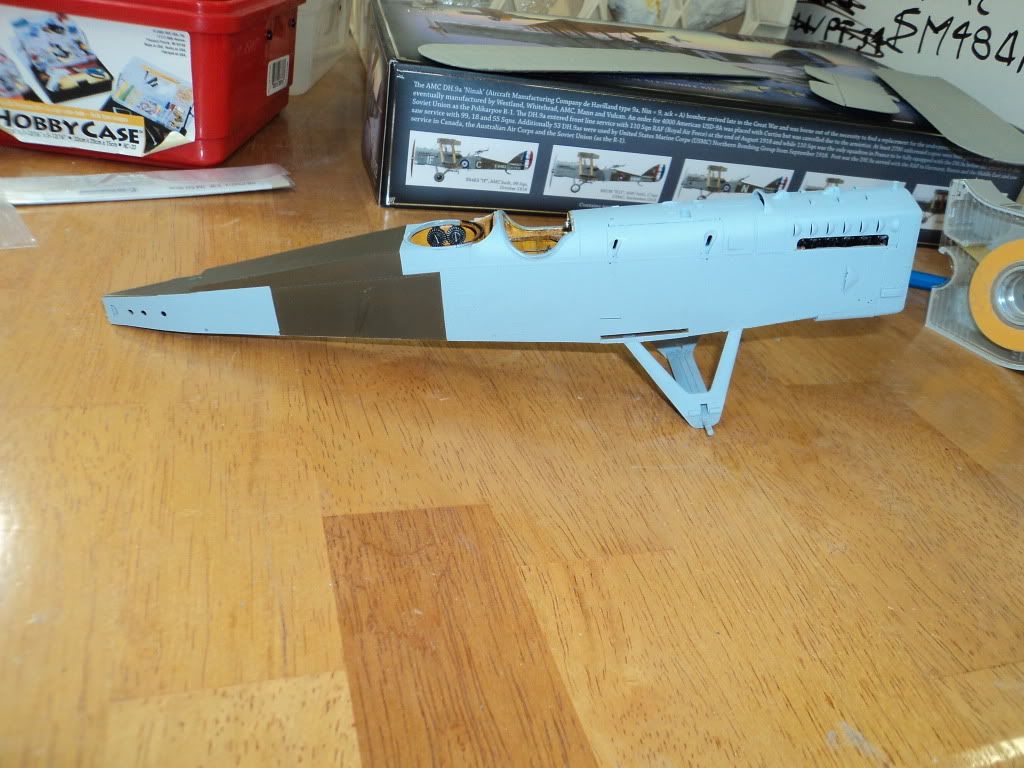
Hi Karl: You are correct. I was really impressed with Keith's preshading on his SE5 and read and re-read what he did. So, I had a remnant of Tamiya Deck tan in the rattle can, so I sprayed the wings that color, just to get rid of it.
I then taped off the ribs, (tedious to write the least) but the end result is worth it, I think. I then airbrushed Tamiya NATO Black, sort of a dark grey color. Took the tape off, and then went over it with Tamiya Deck Tan I think it is XF-55 as recommended in the instructions for CDL. I think it turned out pretty good.
No snow days but cold days. So far this winter we have had maybe 2 days above freezing, and then it snowed. Most snow on record here in the great upper midwest. Much flooding come spring will add 40 miles to daily commute. I can' wait.
EDO: Thanks for scoping it out and the compliment. My skills are a bit rusty, after the summer, fall, winter break, but coming back, as someone wrote, I think it was Dave Johnson from WNW, it is a lesson in a patience. We learn patience by being patient. I have a tendency to rush things, so I have to take pause.
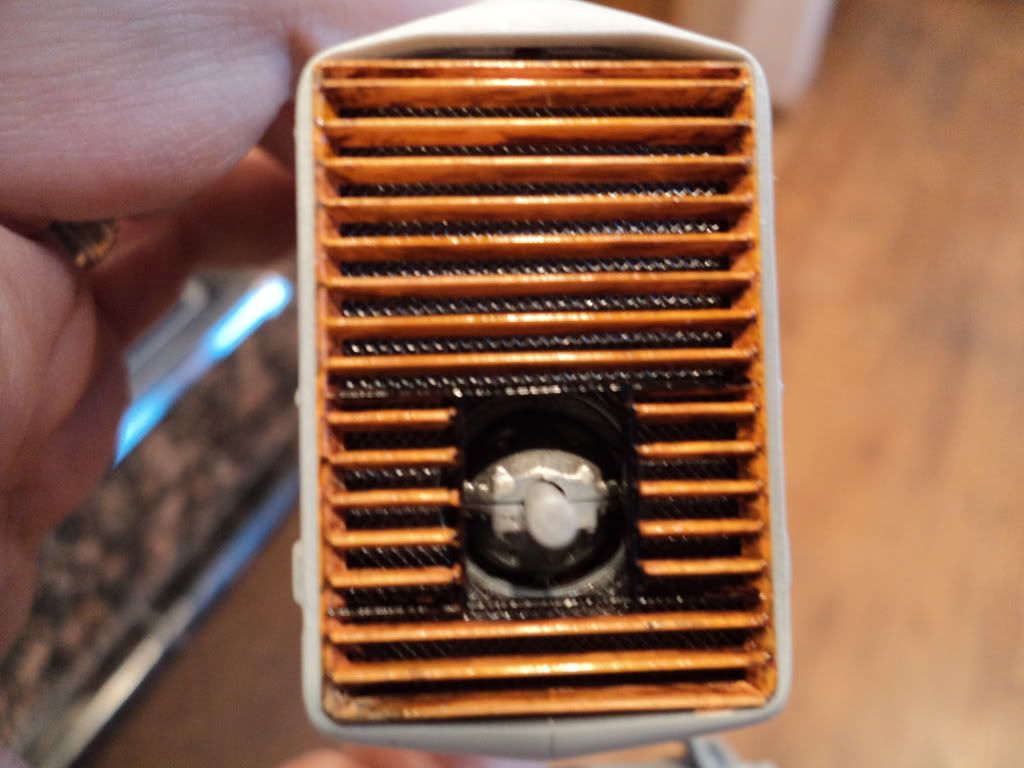
Thanks Keith: It is in sort of a "Moby Dick" looking phase right now with the big grill and cowling; but I am thinking when it is finished it will look neat, especially with the USMC markings!

Thanks Mark, looking forward to seeing more of yours.
Best
Mark


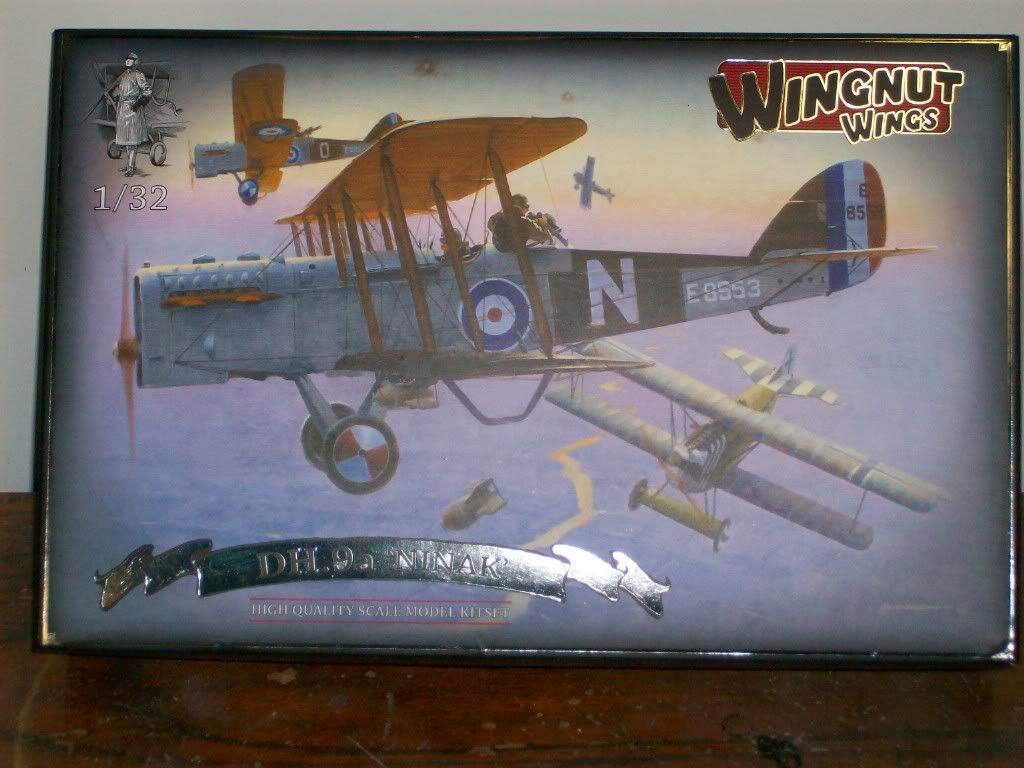
 Okay I am going to start my KotS GB with the now "WIP" NINAK. I started this the day after Christmas, my wife got it for me as a present. I hadn't thought about a blog, but now the GB in full swing, I will post pictures etc.